Simulate your app
You can run badge apps on your computer with the local simulator from the badge-2024-software repo.
There is also a web emulator. Use it to explore the badge UI and try apps from the app store before installing them on your badge. Once you publish your apps you can also try them there.
Installation
-
Install Python.
-
Install pipenv:
pip install --user pipenv. - Run
pipenv --versionin a terminal. If you don't see a version number, trypython -m pipenv --version. If that works butpipenv --versiondidn't, you'll need to remember to typepython -mbeforepipenvfor the rest of this guide. - Clone the badge-2024-software repo.
- Open a terminal and navigate to the sim folder.
- From there, run
pipenv installto install all dependencies.
Not running as expected?
Check the known issues.
Simulate your app
The local badge simulator simulates all apps in the sim/apps/ folder. To test your app, place your app's python file into the sim/apps/ folder:
- Create a folder for your app, for example
MyApp. - In the new folder (for example
sim/apps/MyApp/), copy your app's python file. For example, this isapp.pyfor an example app:
import app

from events.input import Buttons, BUTTON_TYPES


class ExampleApp(app.App):
    def __init__(self):
        self.button_states = Buttons(self)

    def update(self, delta):
        if self.button_states.get(BUTTON_TYPES["CANCEL"]):
            # The button_states do not update while you are in the background.
            # Calling clear() ensures the next time you open the app, it stays open.
            # Without it the app would close again immediately.
            self.button_states.clear()
            self.minimise()

    def draw(self, ctx):
        ctx.save()
        ctx.rgb(0.2, 0, 0).rectangle(-120, -120, 240, 240).fill()
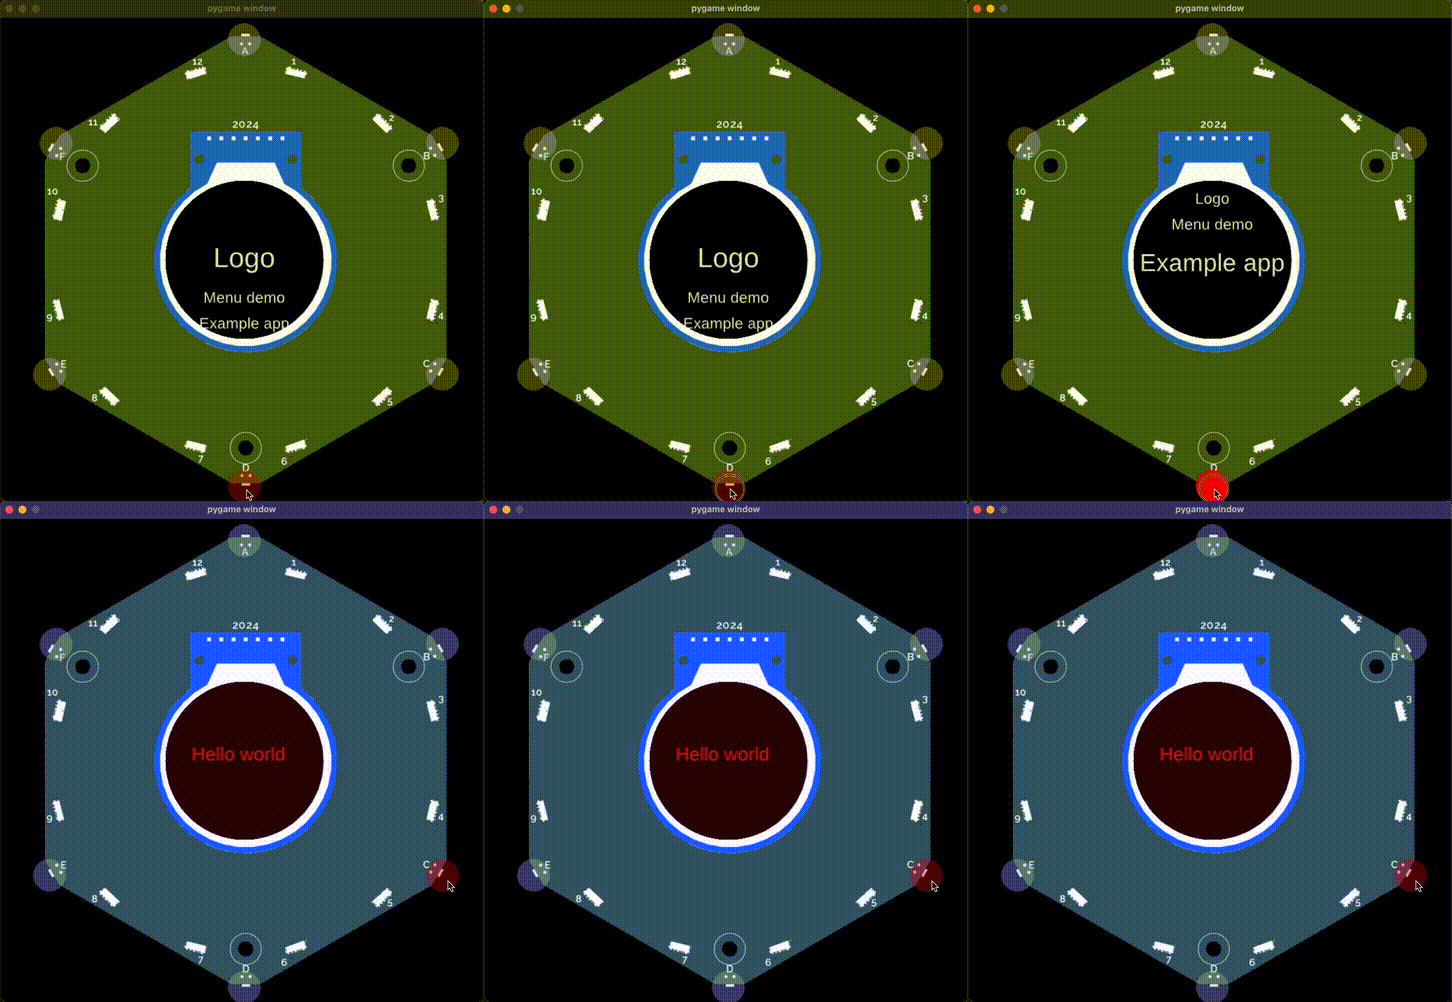
        ctx.rgb(1, 0, 0).move_to(-80, 0).text("Hello world")
        ctx.restore()

__app_export__ = ExampleApp
- In the same folder, create a file called
__init__.pyand use it to import your app's class. If you called your python appapp.pyand the class for your app is calledExampleApp, you would use the following content:
- In the same folder, create a file called
metadata.jsonand add your app's metadata. The file needs to contain:
- your app's name
- the category for the app
- the
callable- which is the Python class for your app. When your app is run, this is the class that will be called to instantiate your app:
- Run the simulator an select your app to test it:
Troubleshooting
It runs in the simulator but not on the badge?
The simulator uses regular Python, while the badge runs apps with MicroPython. That means language specifics like match case statements will work in the simulator but not on the badge. To test whether your app runs on the badge, follow the instructions to debug your app on your badge.