Tildagon End User Manual
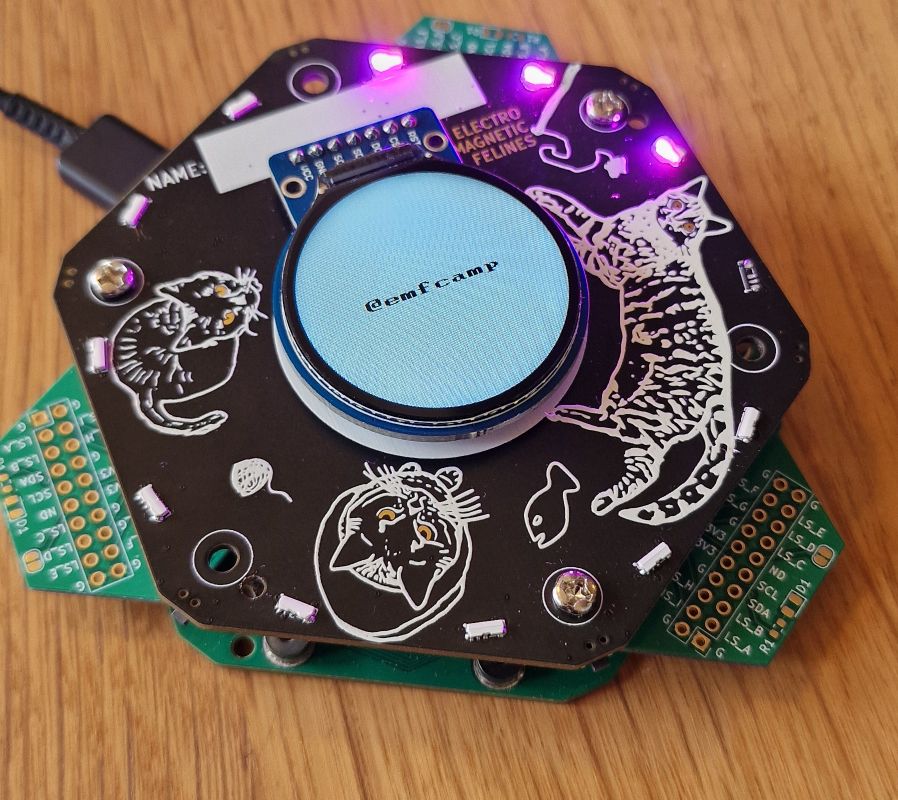
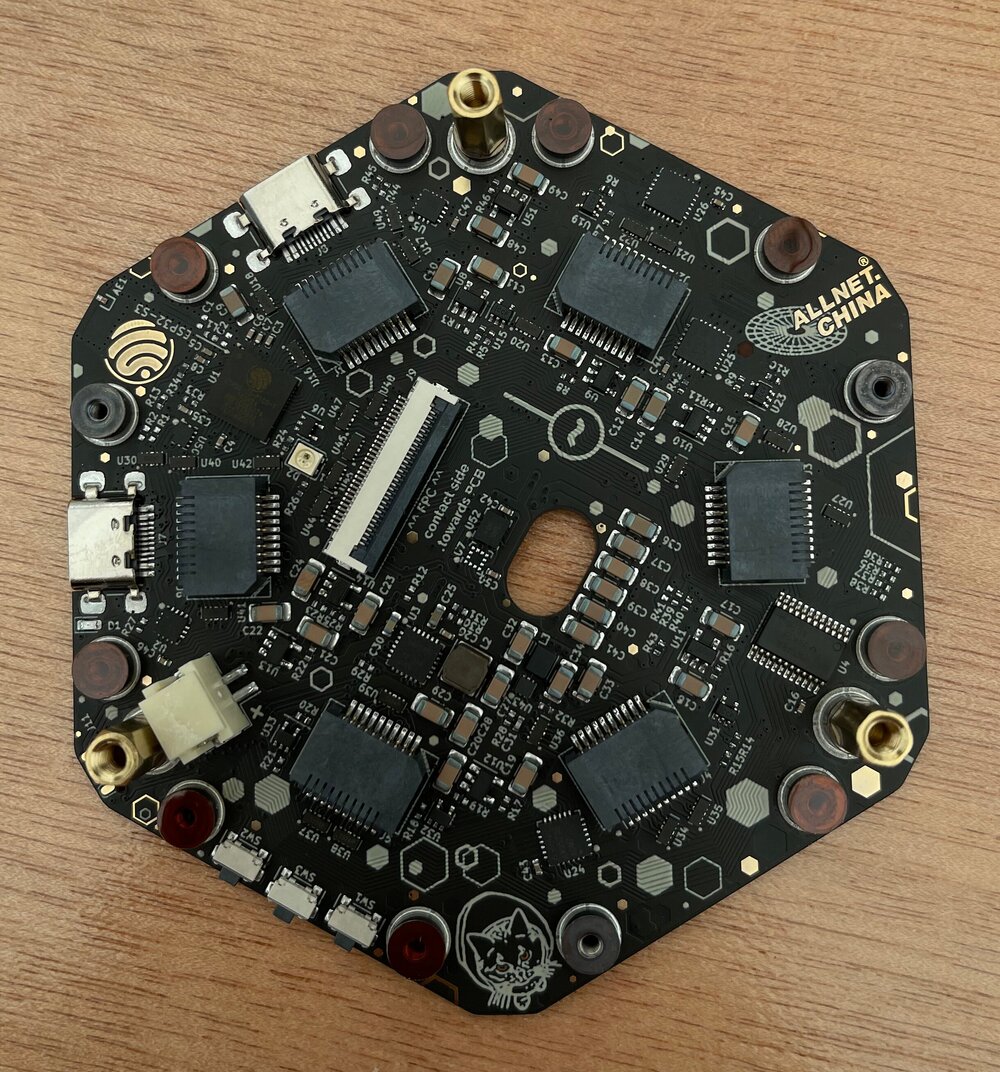
The Tildagon is a badge that you can wear around your neck. It has a round screen, six buttons, and lots of colourful LEDs. It has a USB-C connector, WiFi, and a battery. It can run MicroPython, and has six hexpansion connectors.
The badge will automatically connect to camp wifi, and you can use the app store to install apps.
The hexpansions that the badge supports allow you to extend the functionality of the badge with hardware made by yourself or other attendees.
Assembly
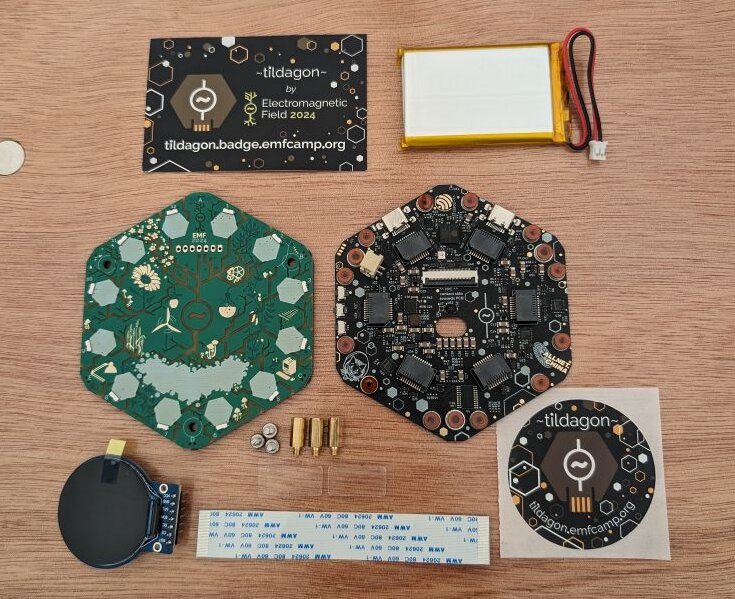
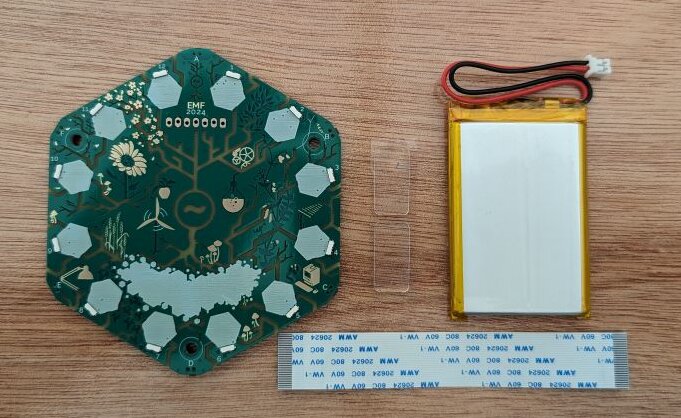
The following components come with each badge kit:
From top to bottom, left to right:
- Tildagon information with link to docs
- battery
- badge front
- badge base
- display
- 3 screws, 2 glue stickers
- flexible cable
- Tildagon sticker
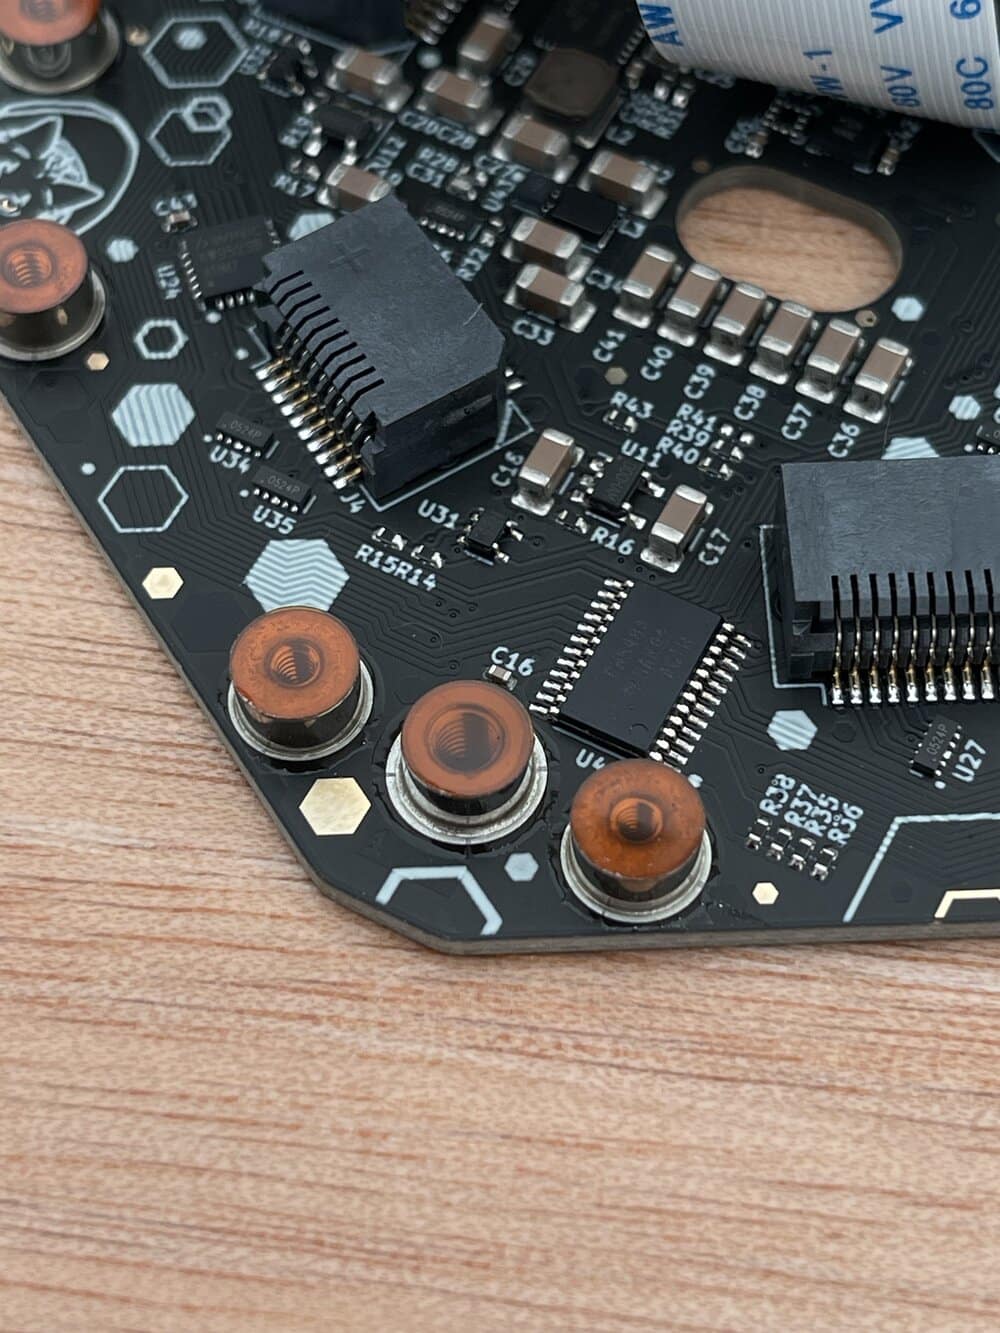
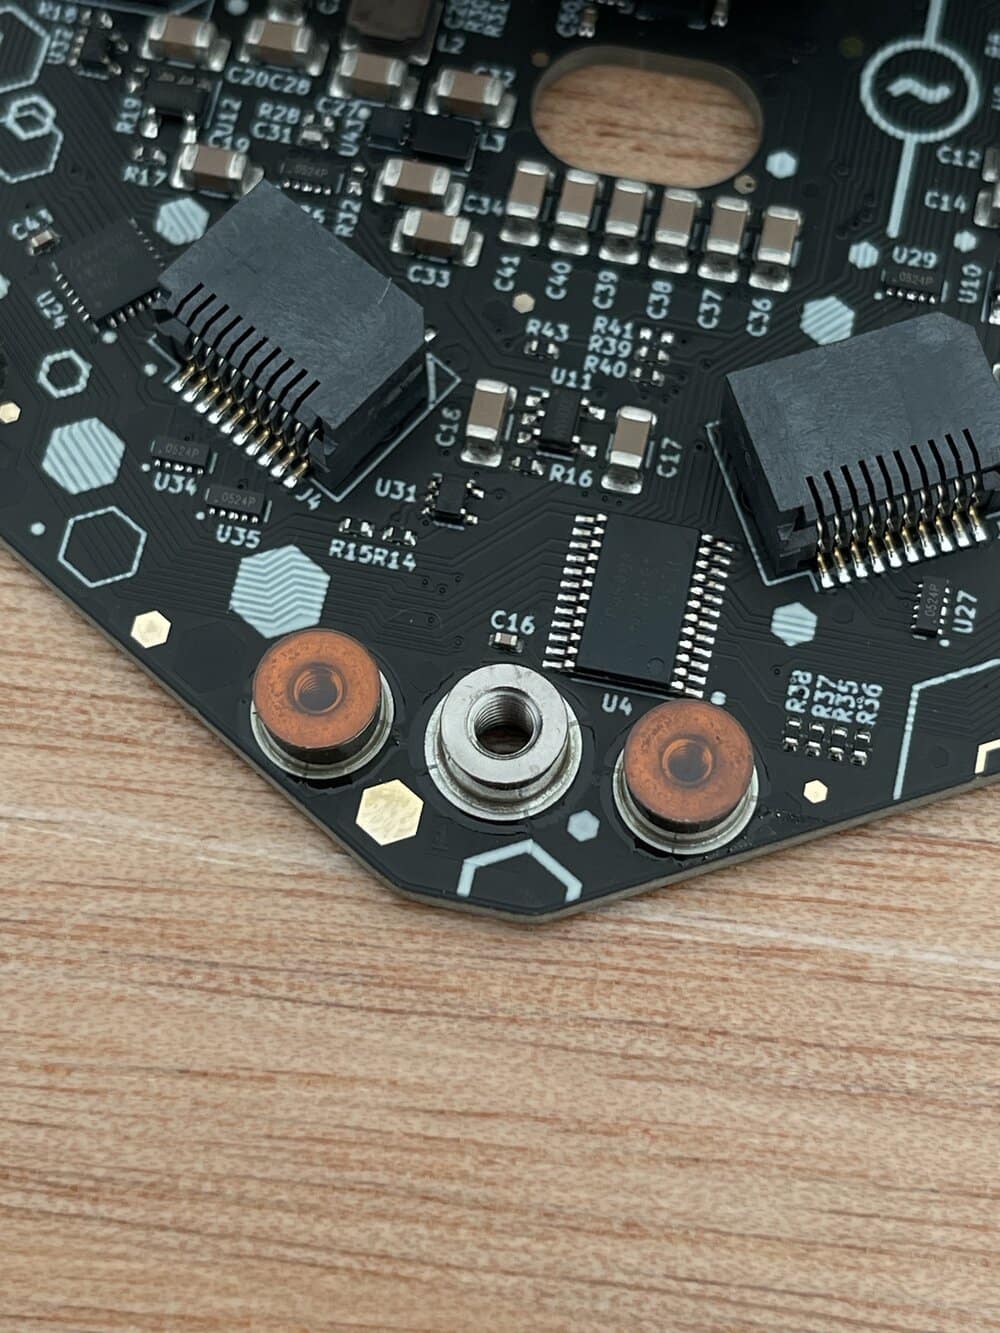
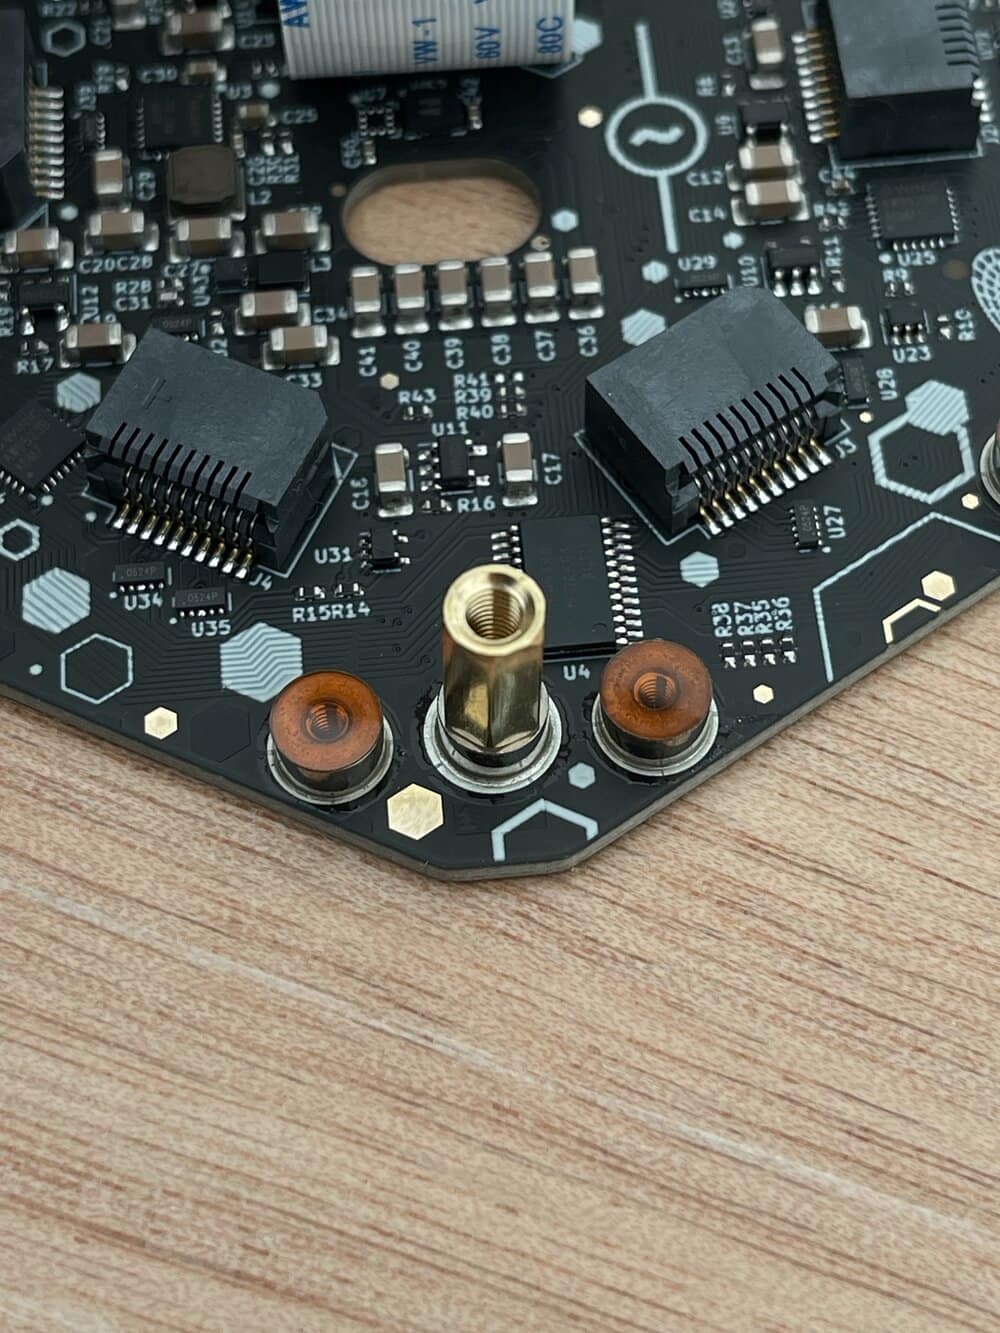
1. Attach the standoffs to the base of the badge
Get the three golden standoffs. Remove the plastic protector stickers on top of the middle screw mounts wherever you see three mounts together:
2. Assemble the front of the badge
Start with the badge front, flexible cable, and glue bits:
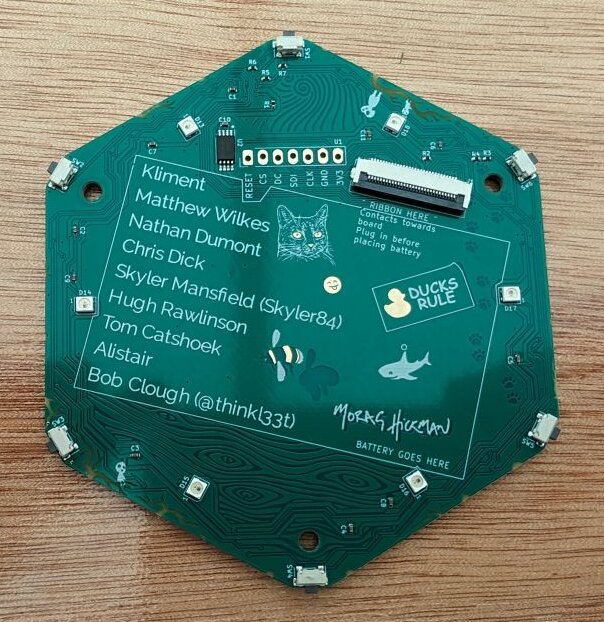
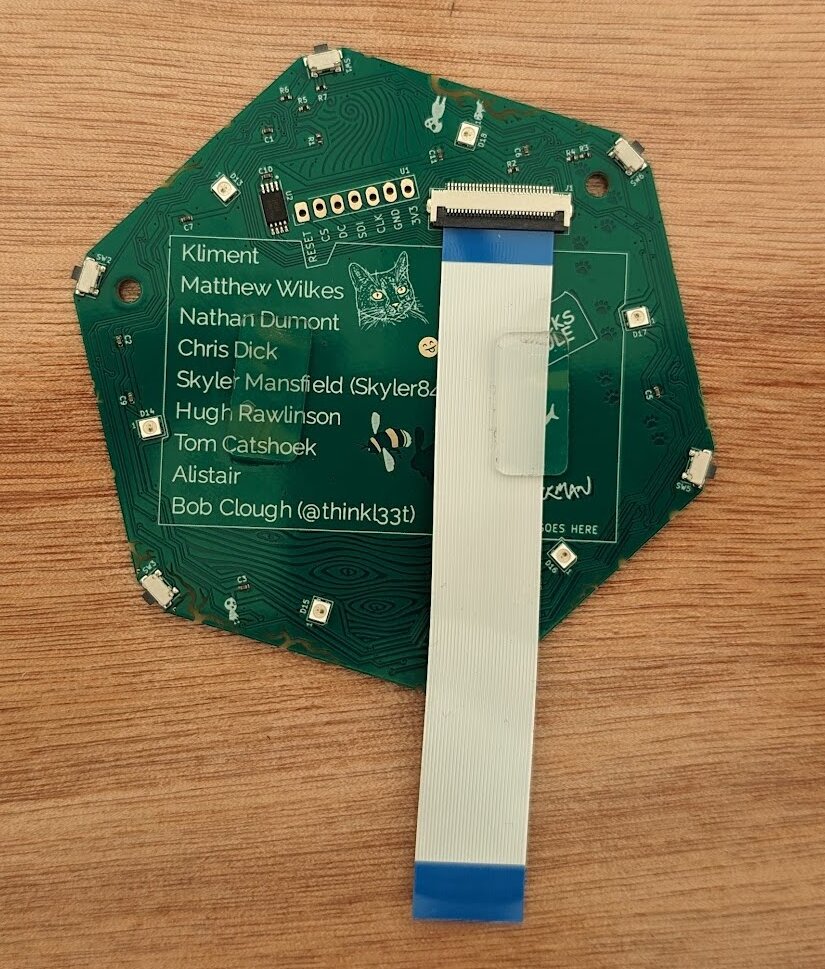
Flip the badge front, so you can see the names of the badge team:
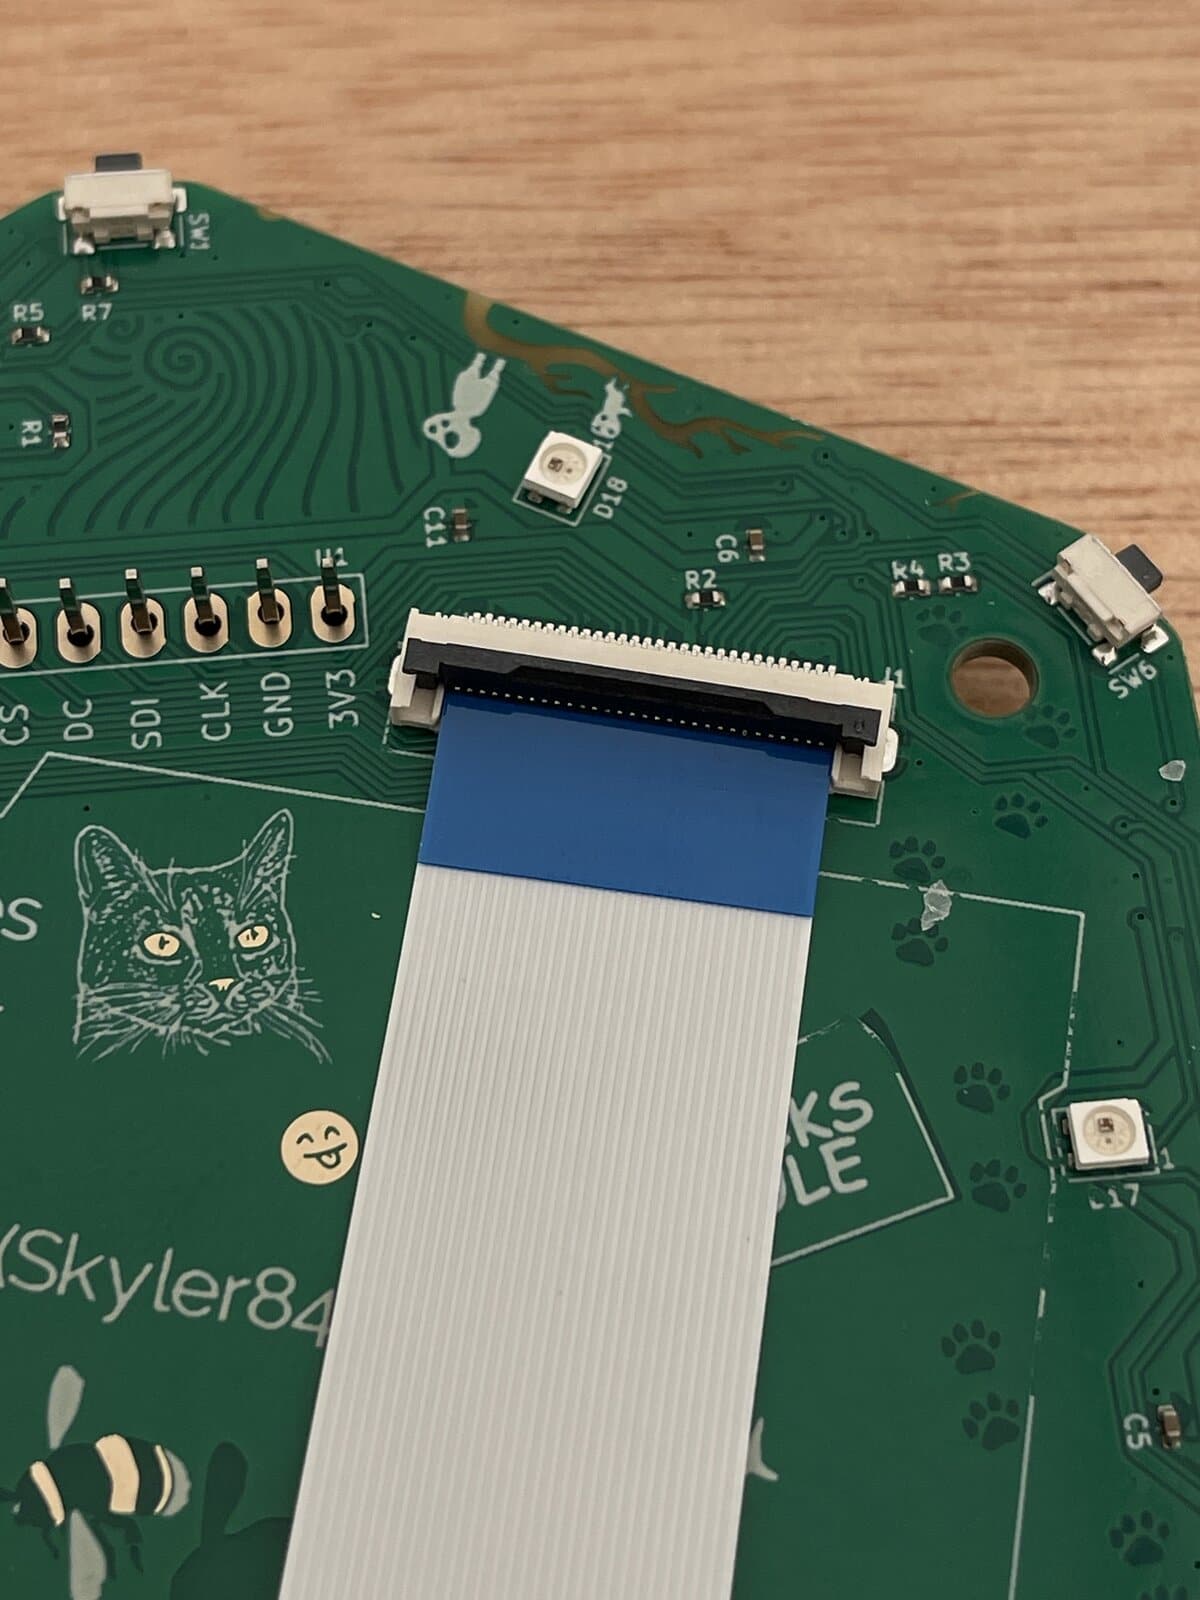
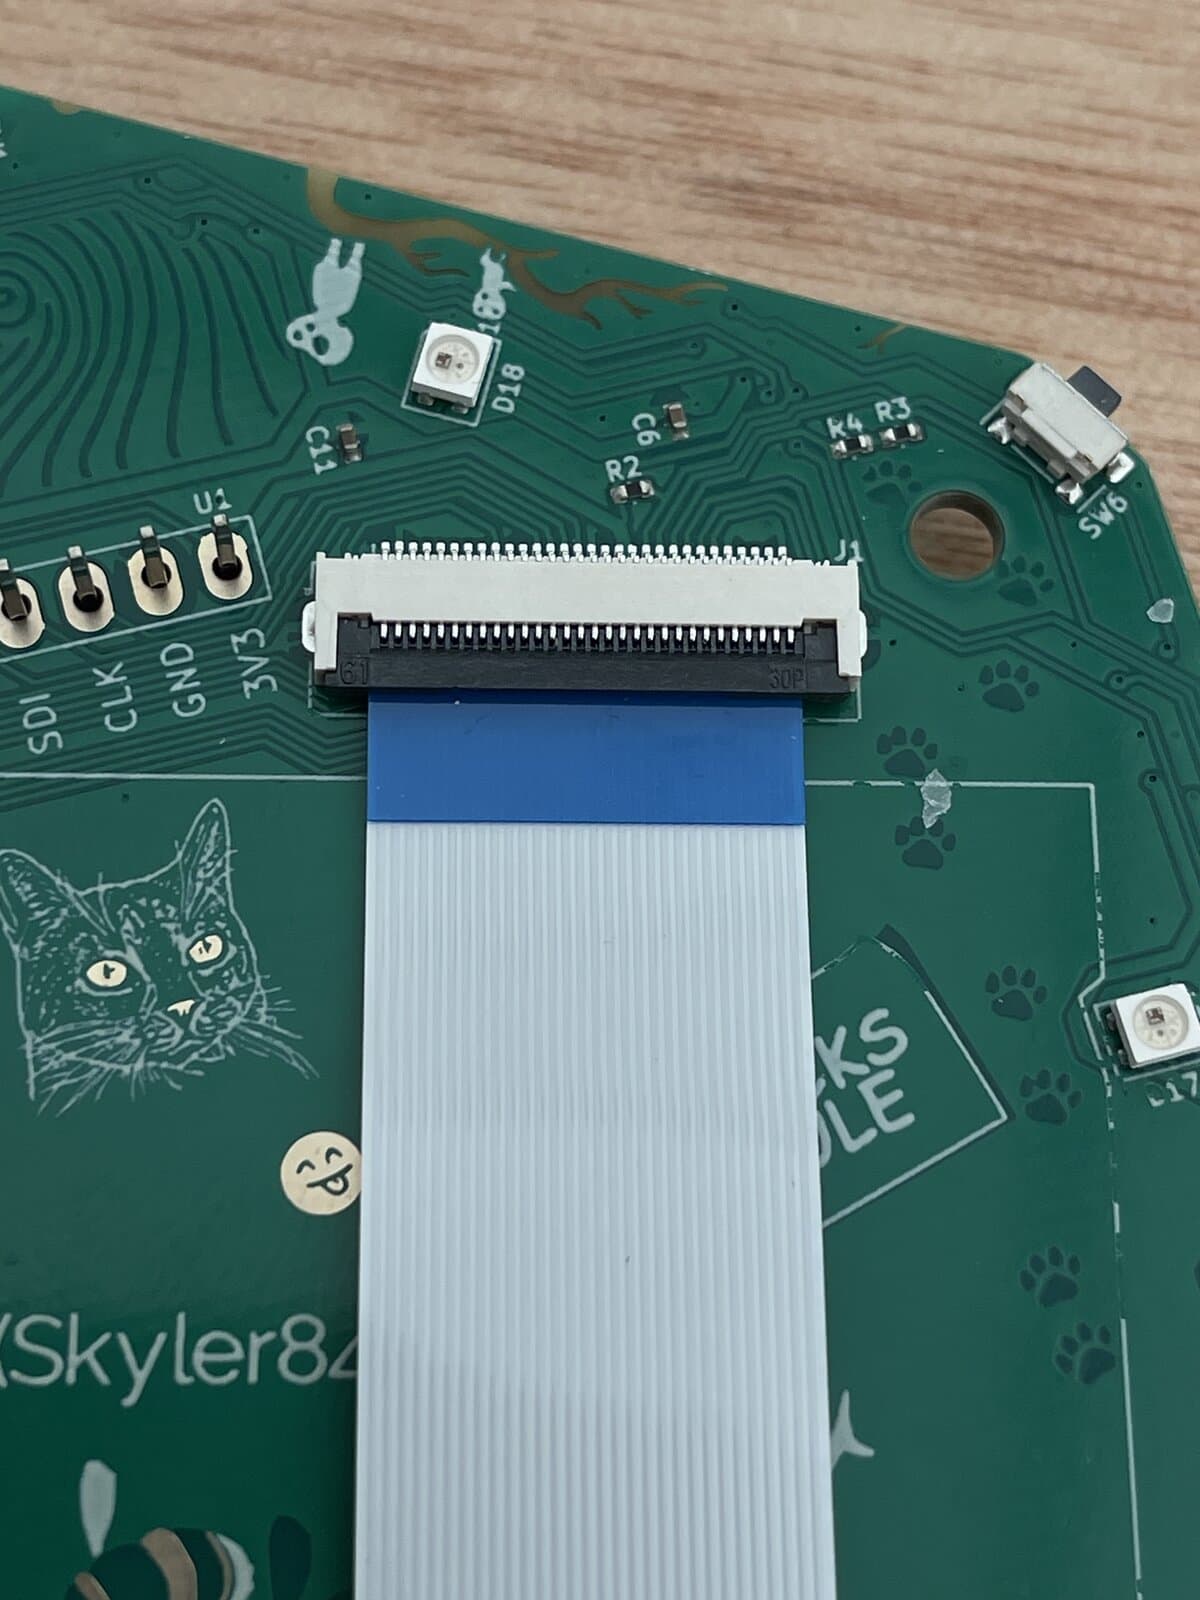
Attach the display ribbon to connector. Lift the black bit and slide the ribbon cable into the connector. The contacts should be placed towards the board. The blue side of the ribbon should remain visible.
Next, attach the glue stickers to the badge front inside the rectangle.
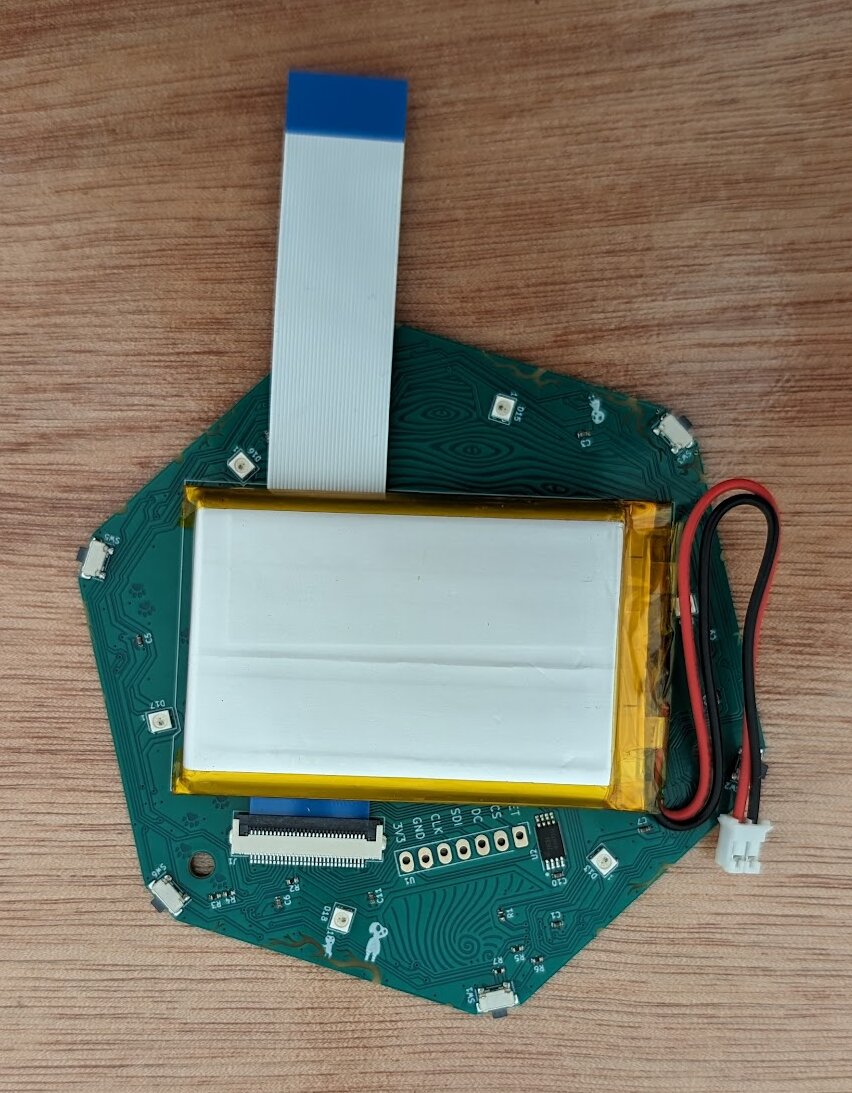
Peel the protectors from the glue stickers to attach the battery. Then, get the battery and place it over the ribbon cable inside the rectangle ensuring the battery goes completely inside the rectangle.
3. Attach the display
Attach the other end of the flexible ribbon cable to the back board. Then gently push the display into the pins on the front of the badge.
Display not working?
See Replace your screen.
4. Flash your badge
Your badge is probably already flashed
If you received your badge after 1pm Friday 31st May, you do not need to complete this step as badges were pre-flashed!
If your badge is not yet flashed, follow the directions in Flash your badge before you continue assembly.
5. Attach the battery to the back of the badge
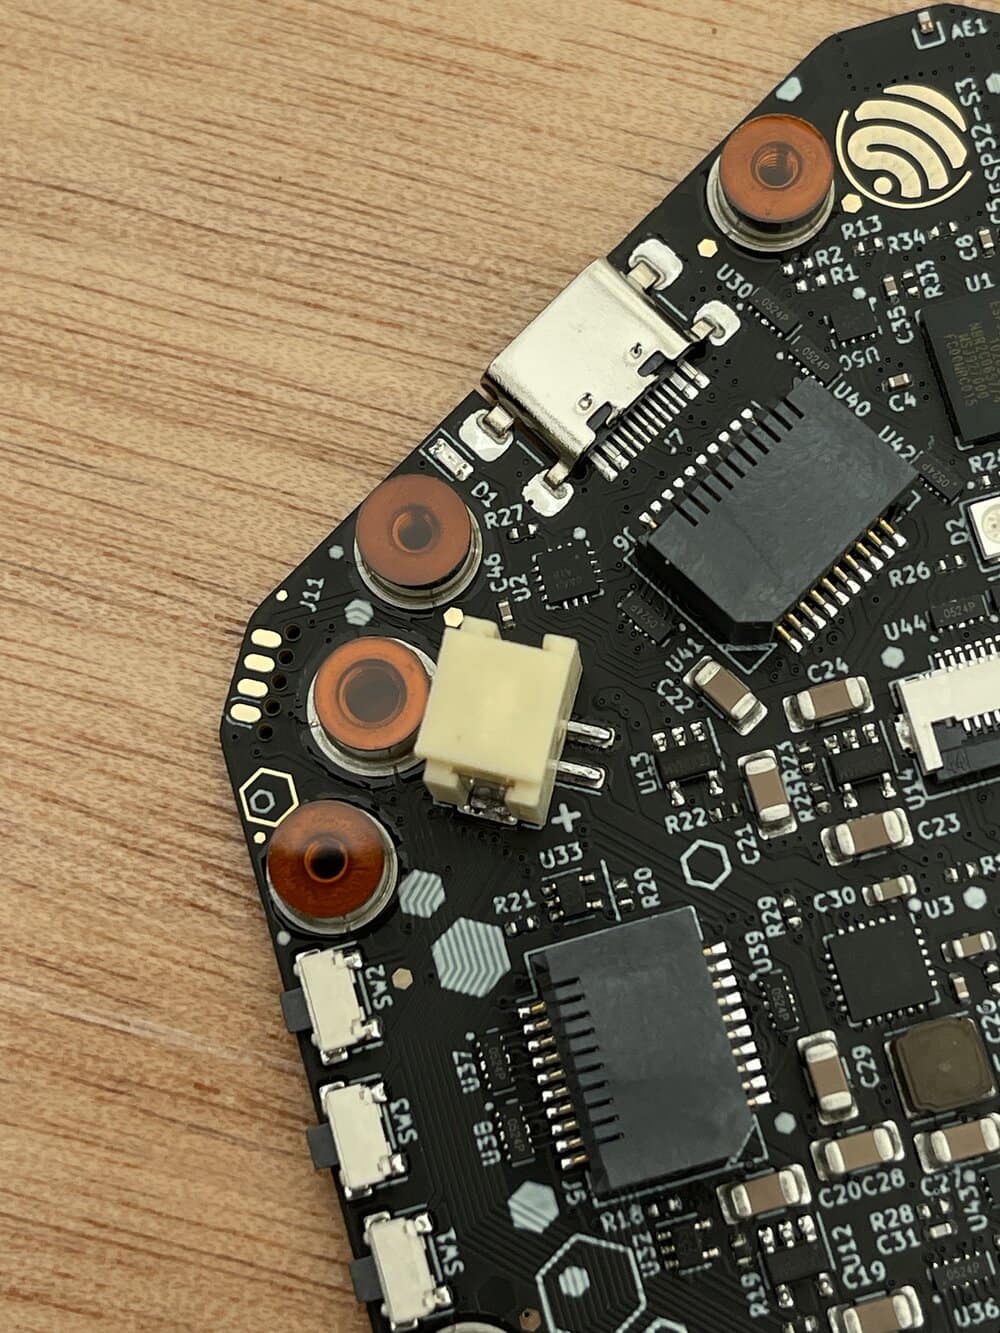
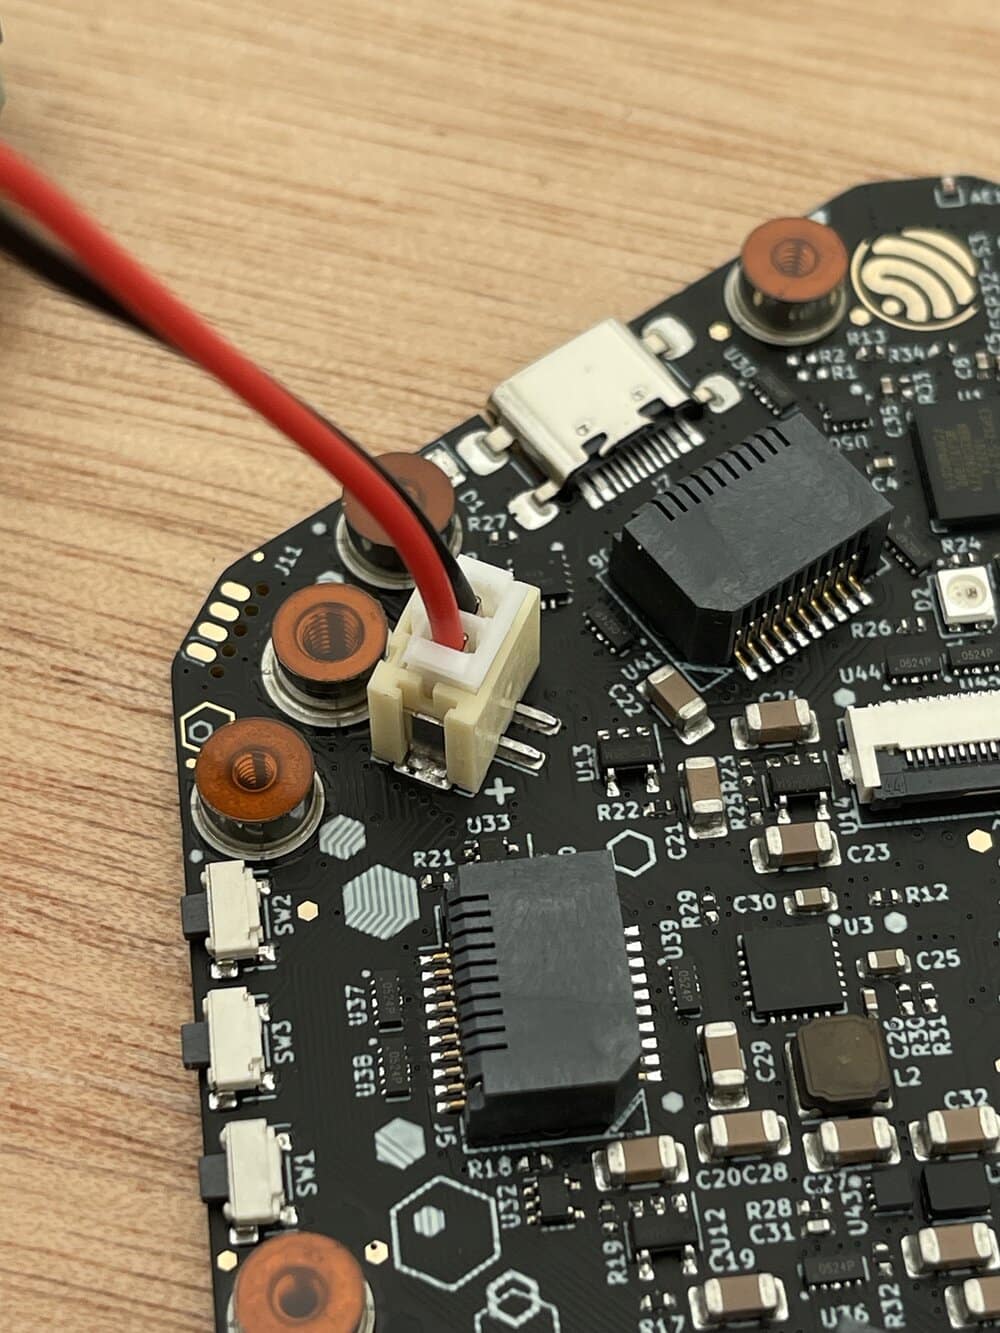
On the back of the battery, remove the plastic lid from the battery connector:
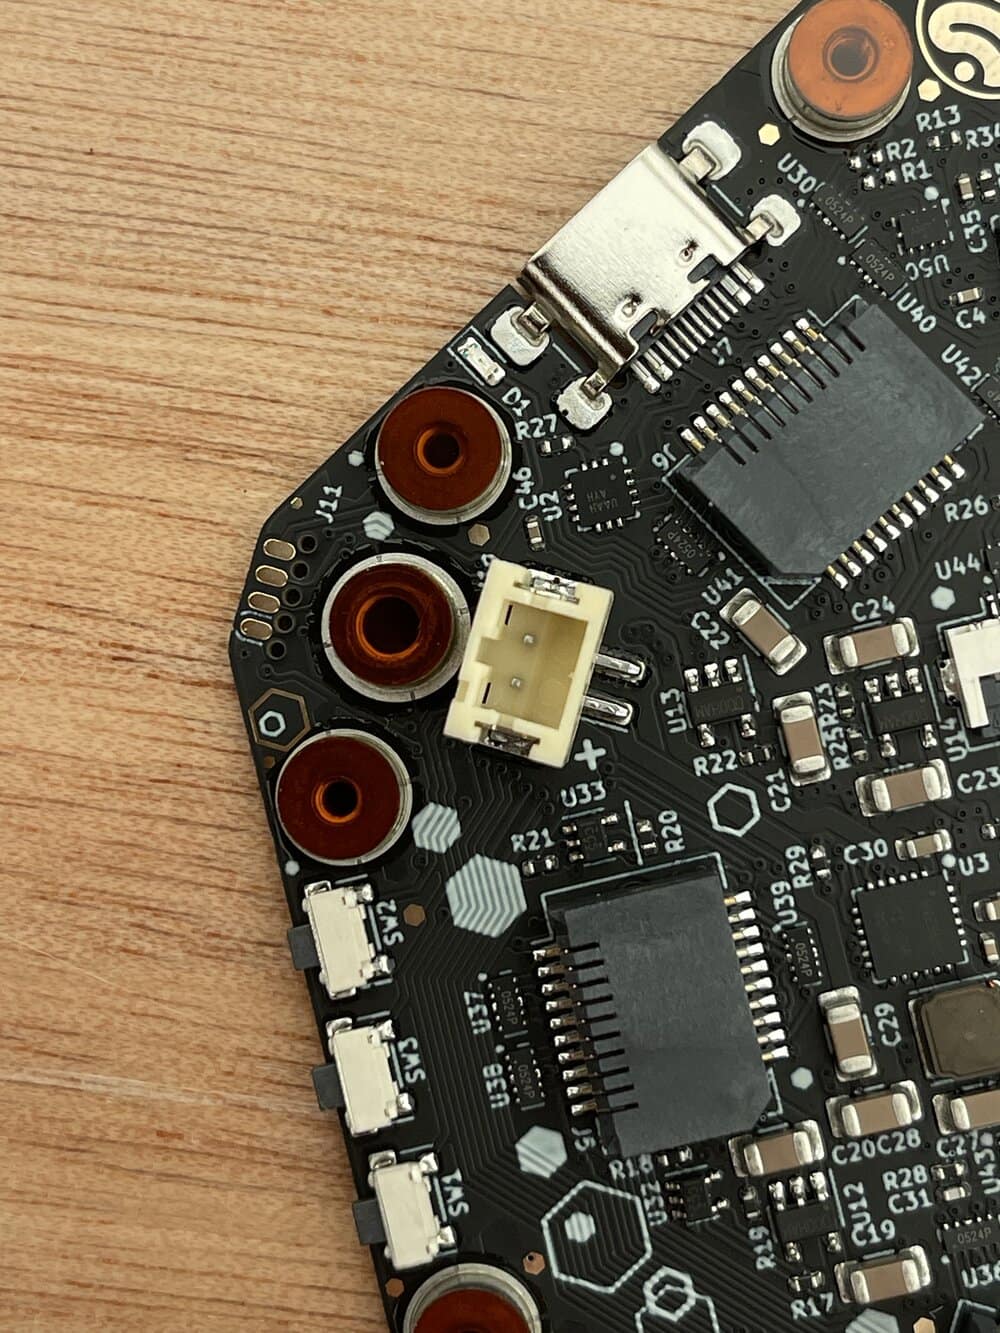
Then attach the battery cable to battery connector on the back board.
6. Screw the badge front to the badge back
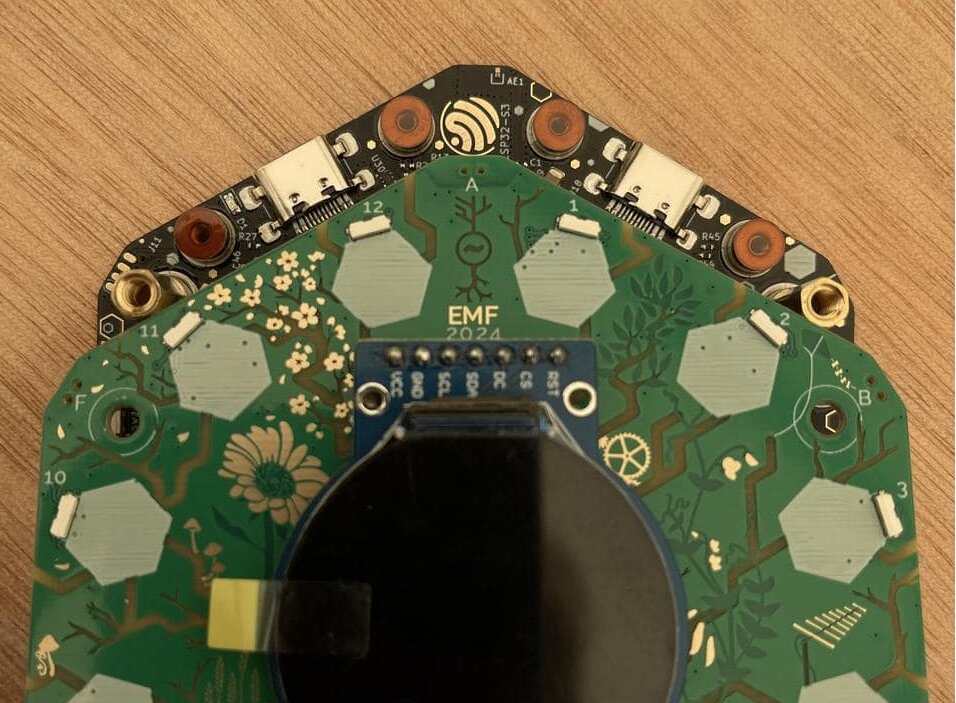
Use the 3 screws to screw the badge front to the badge base. The top of the base board is between the two USB-C ports and should be aligned with the top of the front board which is where the A button is.
That's it!
Operate your badge
Power on
To power on your badge, press and hold the bottom button designated bat (the designation is on the back of the badge) for 2 seconds.
Navigate the menu
Use the buttons A (UP) and D (DOWN) to move up and down in the menu. To select a menu item, press C (CONFIRM). To go back to a previous menu or exit an app, press F (CANCEL).
Note that badge apps may use buttons differently.
Power off
To power off the badge, select the menu item Power off.
If your screen is broken, follow the steps in Turn off badge with broken screen.
Buttons
Front of the badge
- A (
UP): In the menu, this button navigates up. In apps the functionality may vary. - B (
RIGHT): When entering text in a dialogue, this button allows you to add another letter. In apps the functionality may vary. - C (
CONFIRM): This generally confirm the selection. In a dialogue, this button means yes. In apps the functionality may vary. - D (
DOWN): In the menu, this button navigates down. In apps the functionality may vary. - E (
LEFT): When entering text in a dialogue, this button allows you to move left. In apps the functionality may vary. - F (
CANCEL): This generally cancels the selection. In a dialogue, this button means no. In apps the functionality may vary.
Back of the board
- reboop: Press and hold the reboop button to perform a soft (re)boot.
- boop: Press and hold the boop button while connecting to power to load the bootloader (the badge needs to be powered off before connecting to power).
- bat: Press the bat button to power on your badge.
Troubleshooting
For common issues, see Common problems.
