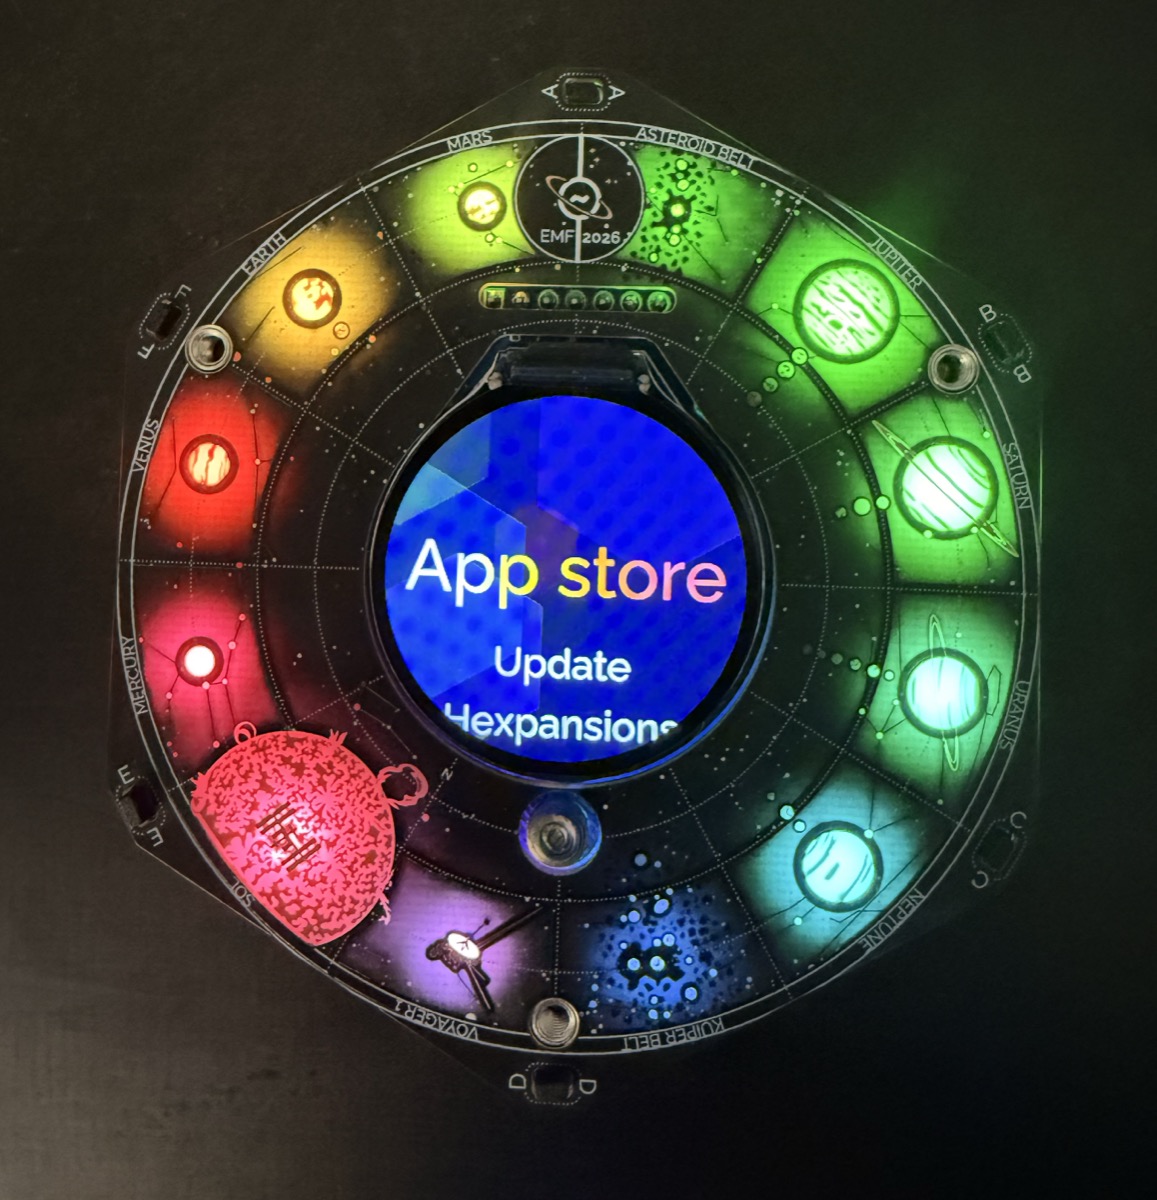
Spaceagon Assembly (2026)
Requirements
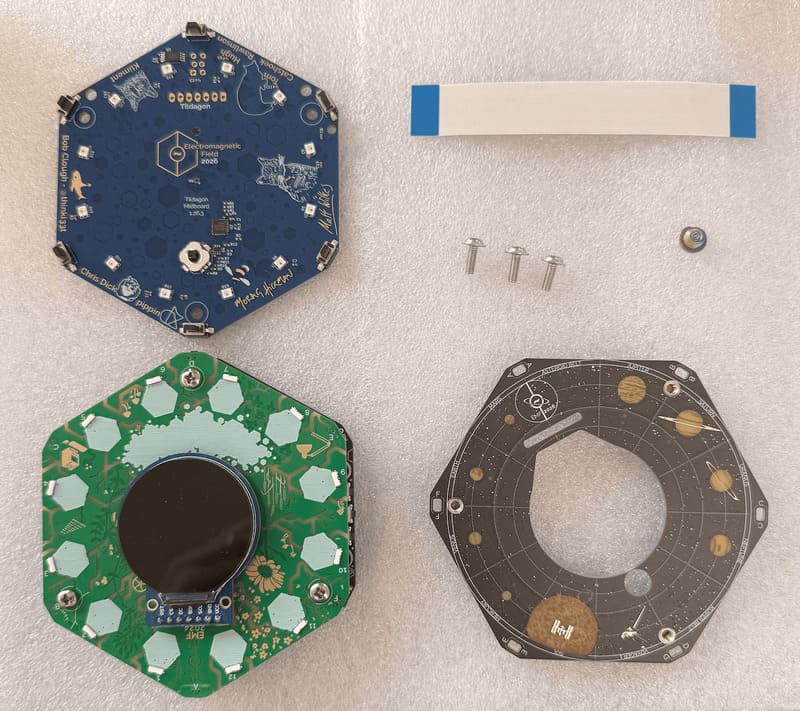
- A 2024 Tildagon with a Spaceagon upgrade kit OR
- A complete 2026 Spaceagon kit
- Isopropyl alcohol
Preparation
Step 1: Connect your badge to WiFi
If you already have a badge, update its WiFi so you can connect to the camp WiFi. Around the campsite and at the badge tent you will find WiFispansions. Plug one into your Tildagon.
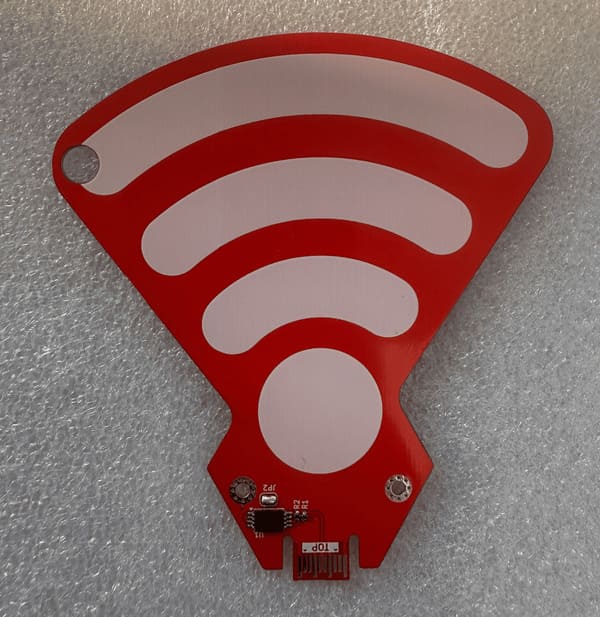
Alternatively you can also manually update the WiFi.
Step 2: Update your badge
In the app menu, select Update and wait for the update to complete.
If you cannot update your badge, flash your badge instead.
Update before assembling
You should update the firmware before adding the new frontboard. Failure to do so means the badge buttons on the new frontboard will not work (only the joystick will work).
Remove the 2024 frontboard
Don't have a 2024 badge?
If you have a complete kit, skip ahead to Assemble the new badge.
Step 3: Remove the display
Carefully grip the display by the plastic near the pins and lift the display off the badge.
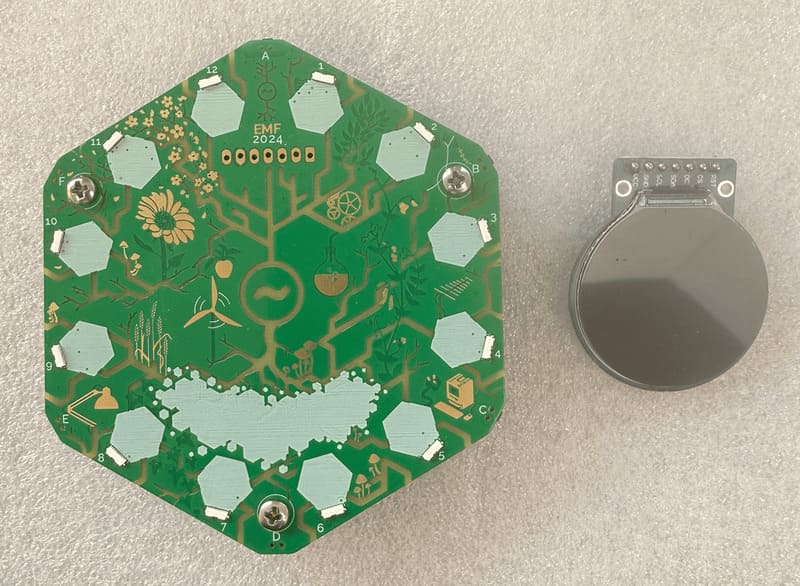
Step 4: Unscrew the three screws that hold the frontboard
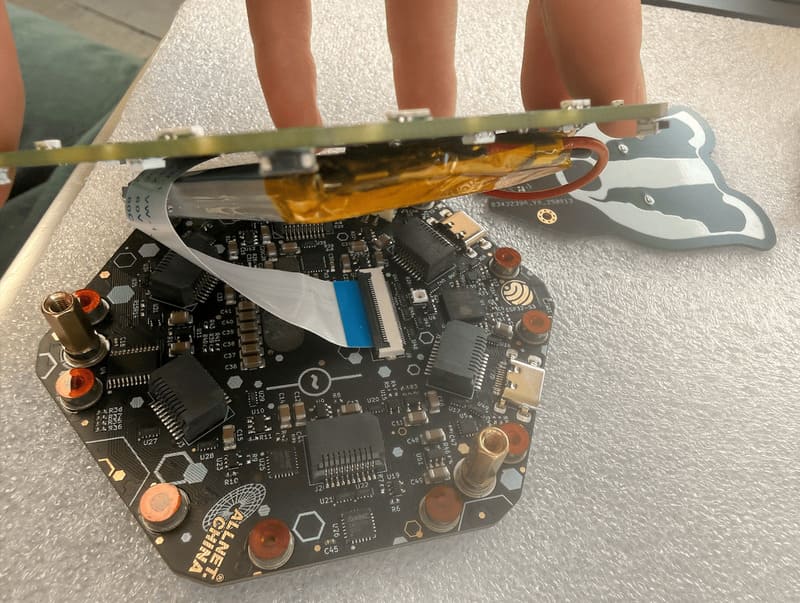
Step 5: Disconnect the display cable
The display cable and battery connect the frontboard to the backboard. Carefully partially lift the frontboard. Then lift the black flap of the cable connector and slide out the ribbon cable.
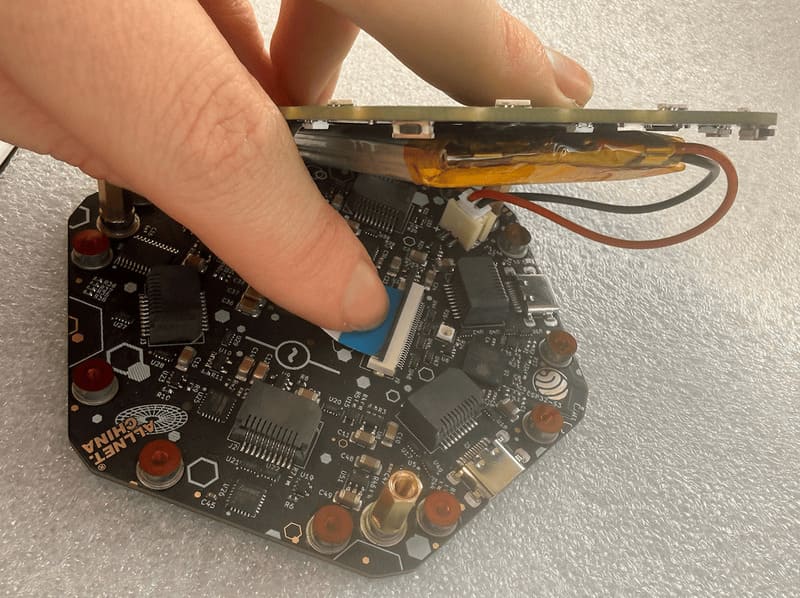
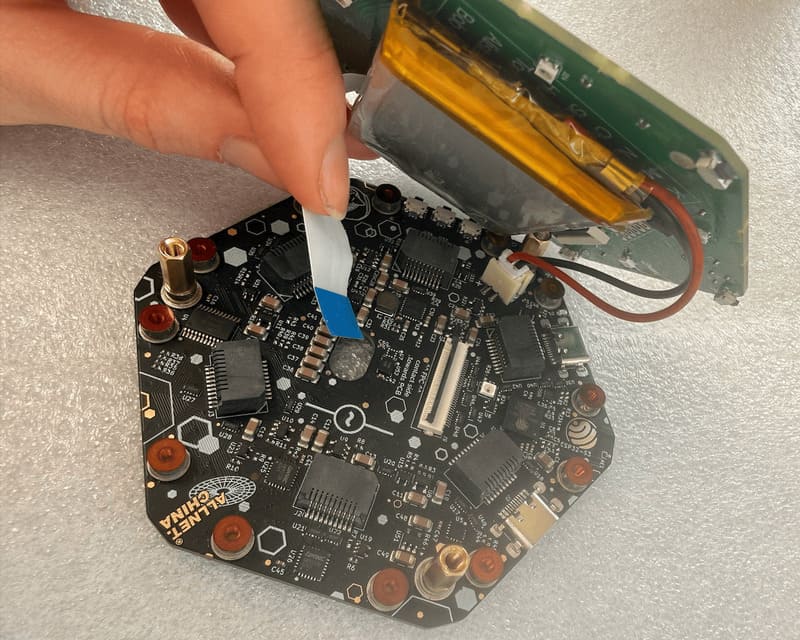
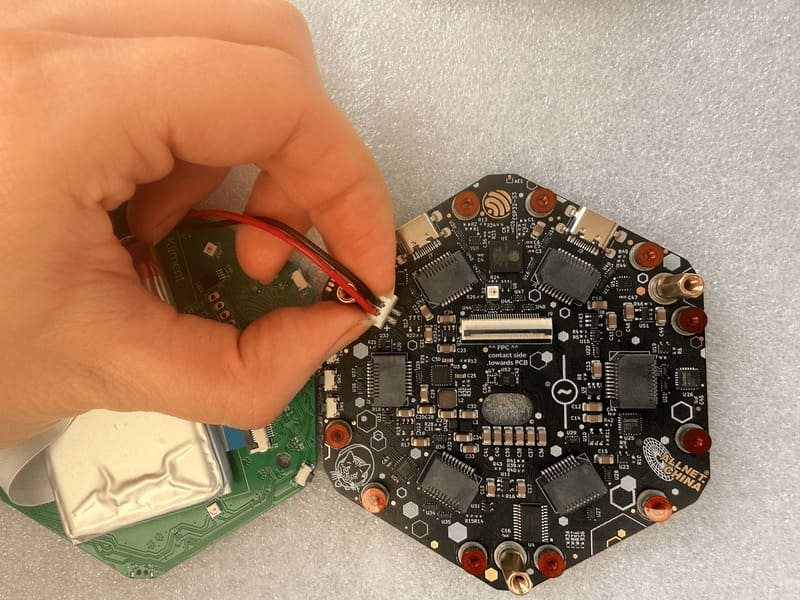
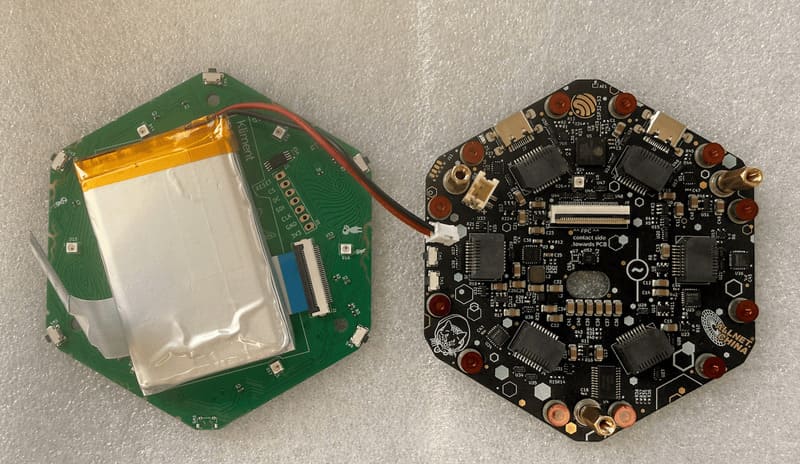
Step 6: Disconnect the battery cable
Now remove the plastic battery connector by pulling the connector, not the wires:
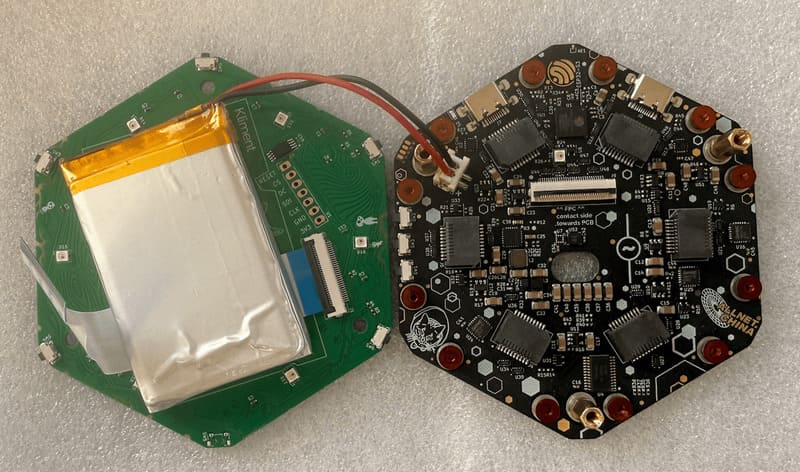
Step 7: Use isopropyl on the glue that holds the battery
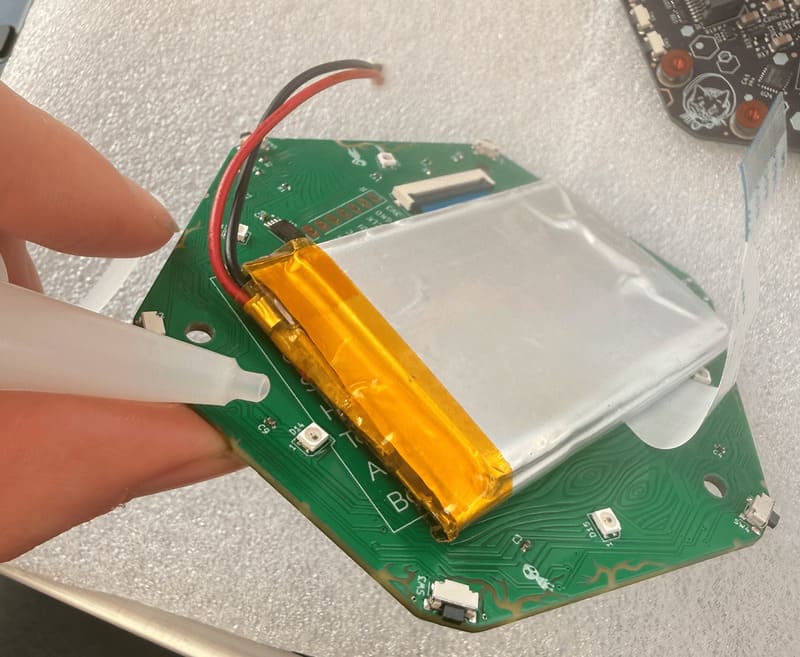
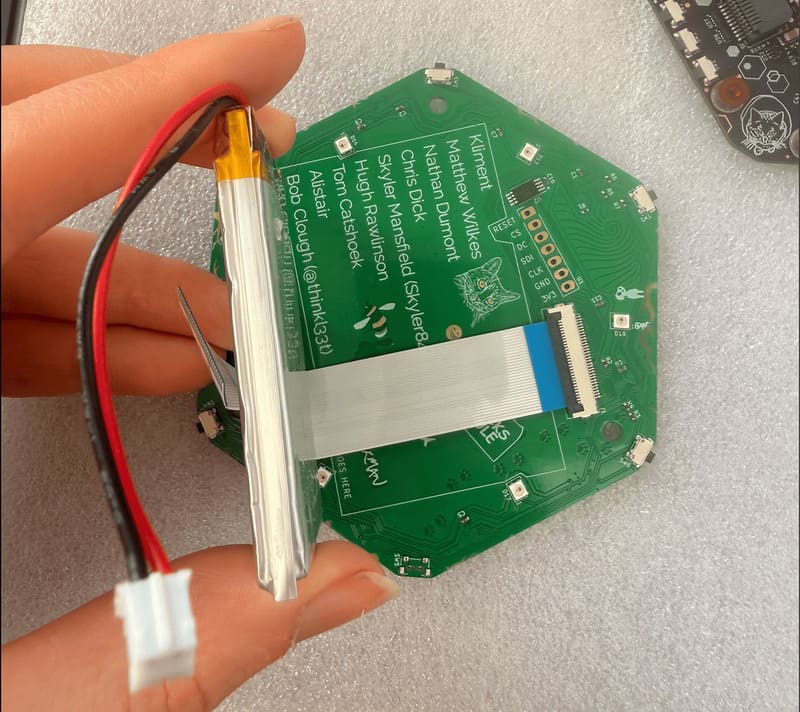
Loosen the glue dots by applying a drop of isopropyl (available at the badge tent). Then wiggle the battery gently until it comes loose.
Step 8: Remove the golden standoffs
Remove the three standoffs from the base board. You will need them later.
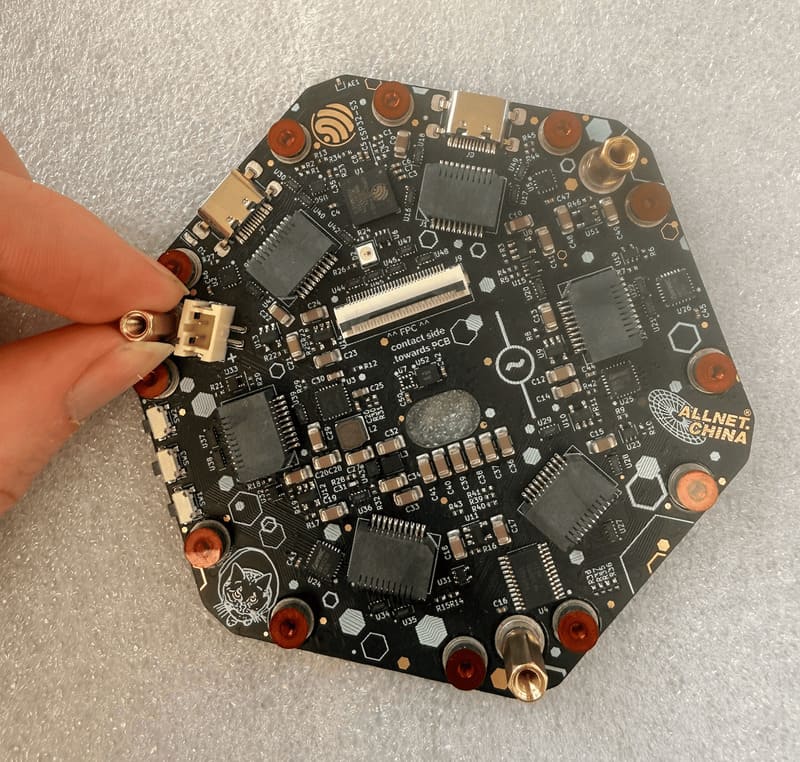
Assemble the new badge
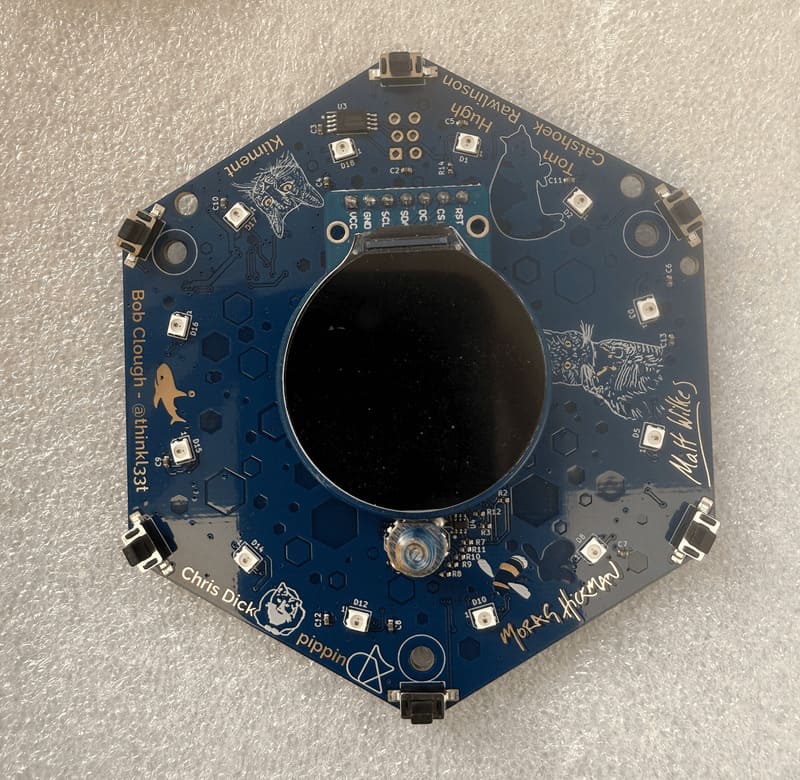
Step 9: Attach your screen to the blue middleboard
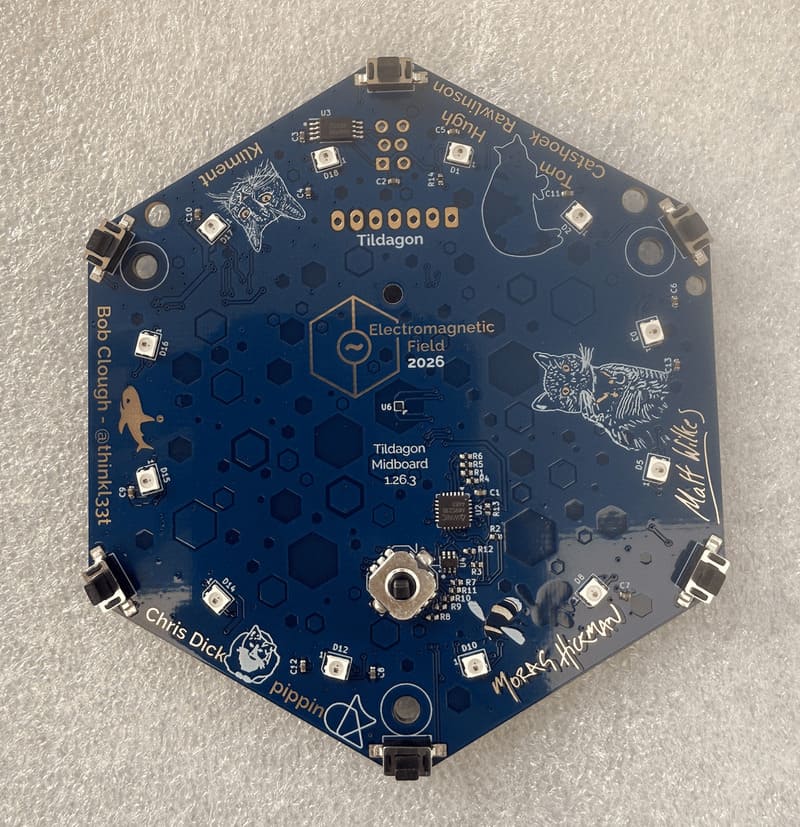
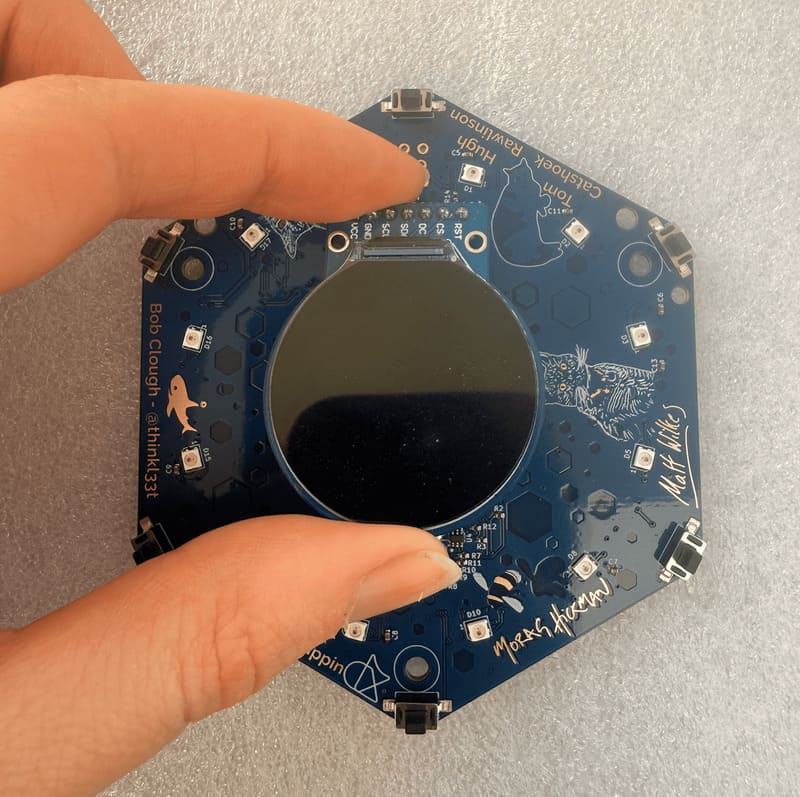
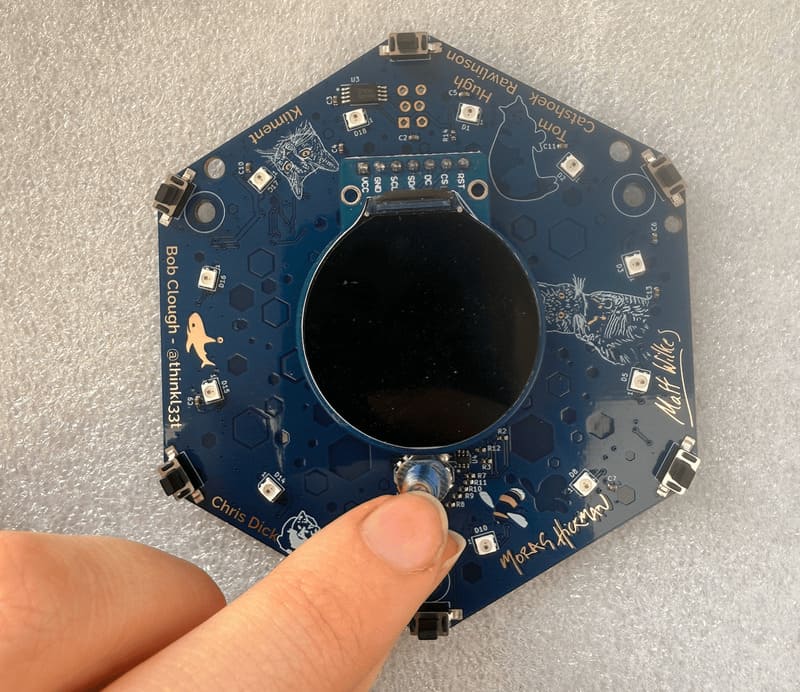
Step 10: Attach the plastic nubbin
Align the flat edge of the nubbin to the display and push the nubbin on the joystick. Push the nubbin on strongly.
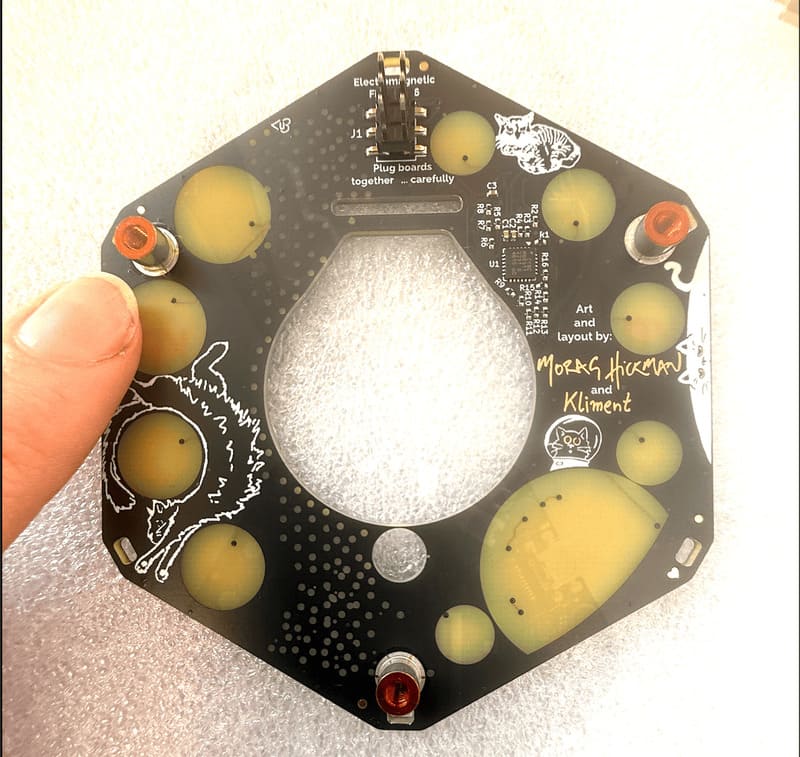
Step 11: Remove the stickers
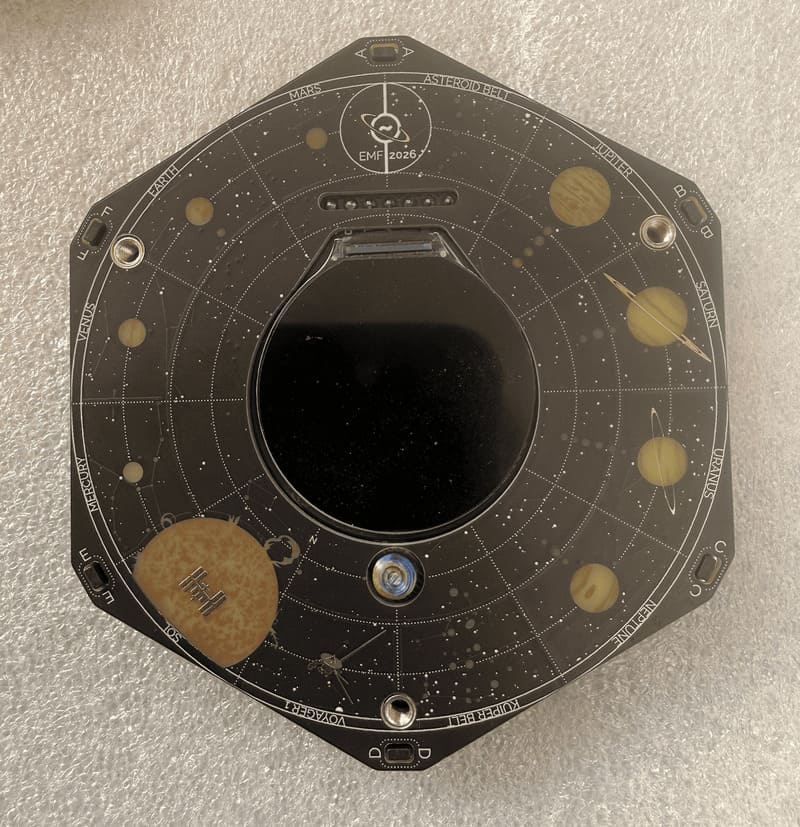
Remove the orange stickers covering the three mounting points on the black frontboard, as shown in the image.
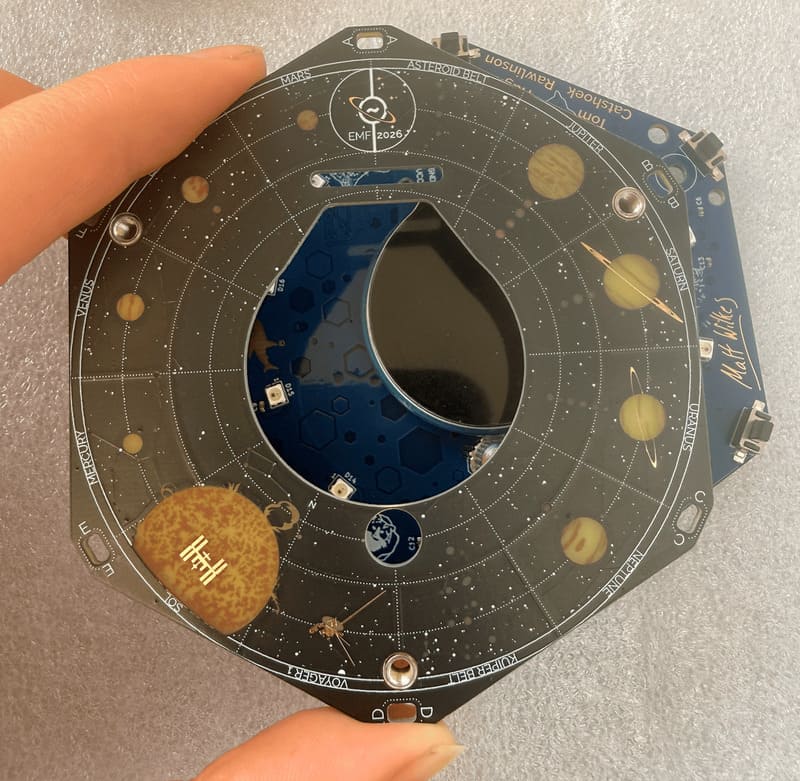
Step 12: Attach the frontboard
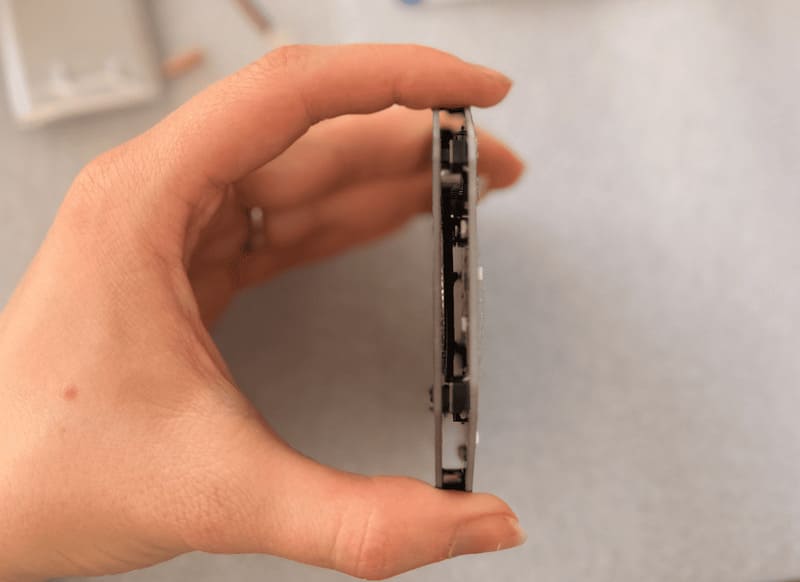
Take the black frontboard and align it with the blue middleboard. Start by pushing the pins in, then align the buttons. Push both boards together.
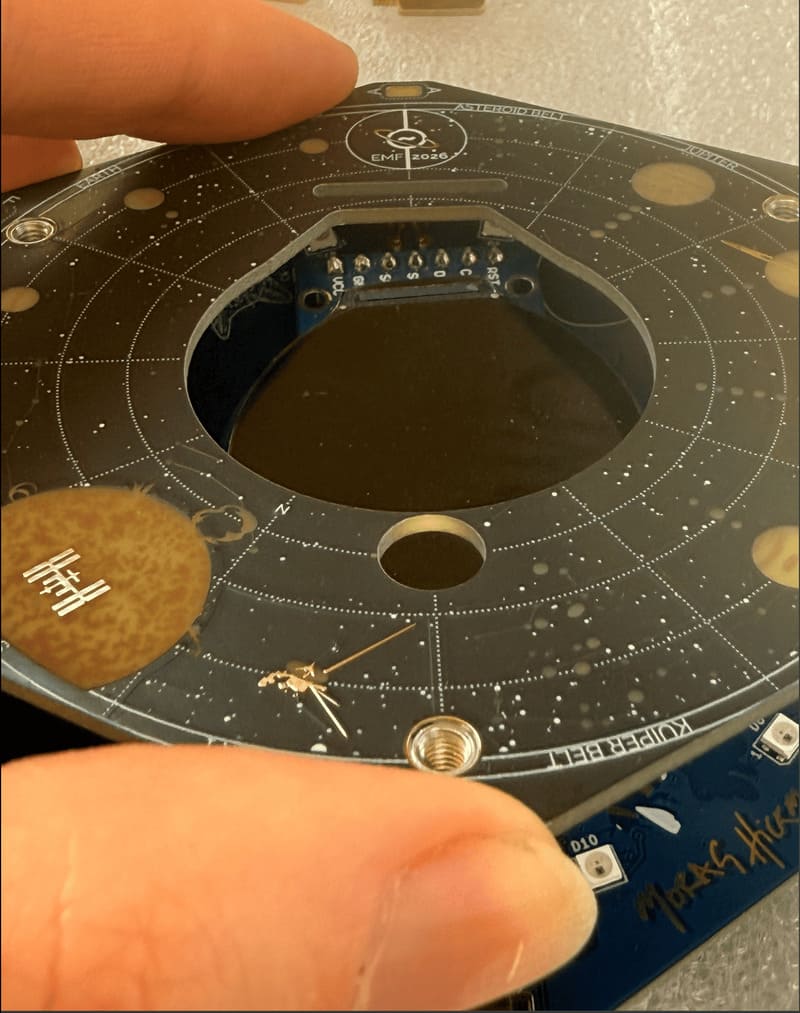
Step 13: Attach the display cable
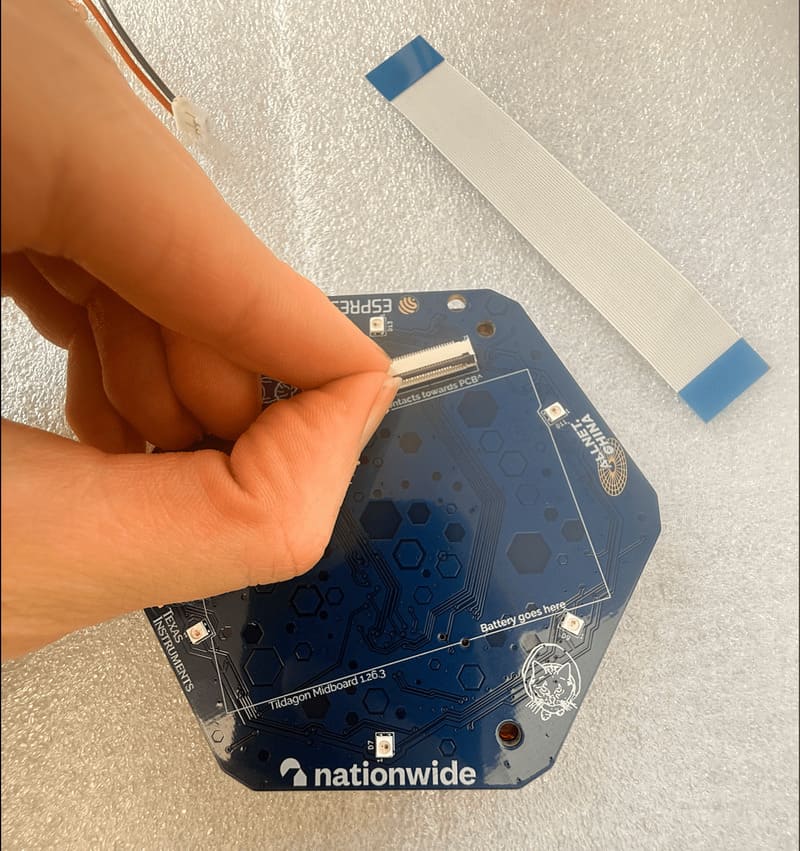
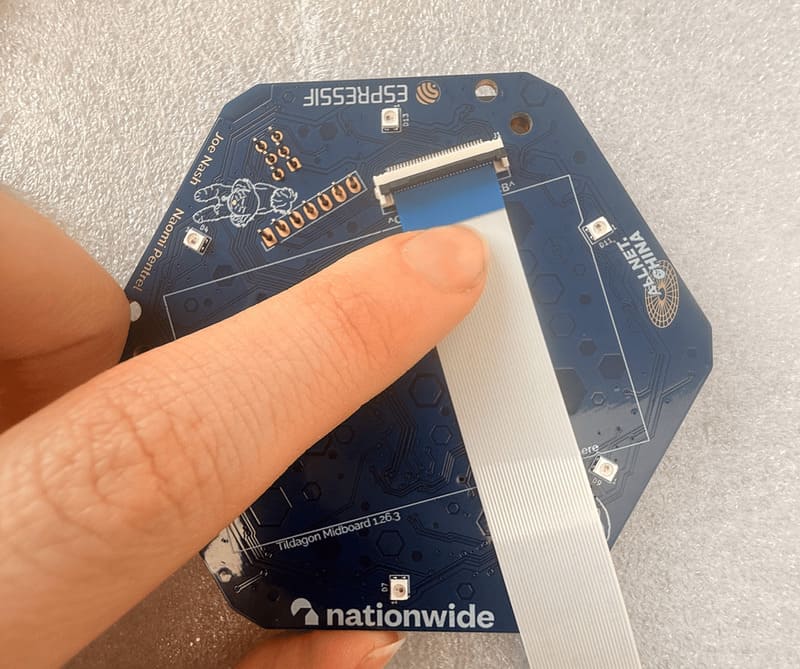
Lift the black flap of the display connector and slide in the display cable. If you have an upgrade kit please reuse your old cable - if your cable is broken we have a small number of replacements available at the badge tent.
Step 14: Attach the battery
Using the same or new glue dots, attach the battery over the display cable.
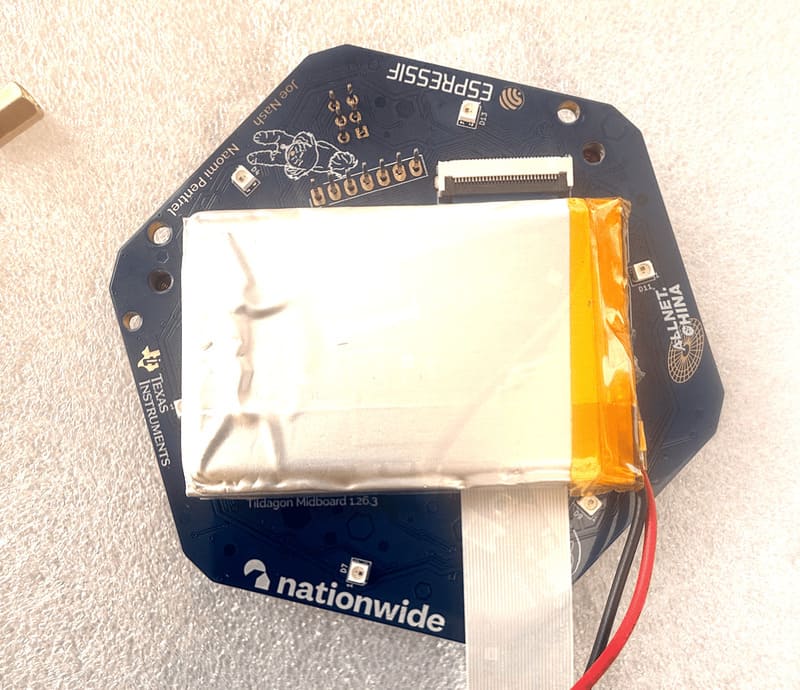
Step 15: Attach the standoffs to the blue middleboard
If you're upgrading, these are now mounted the opposite way around to the original board!
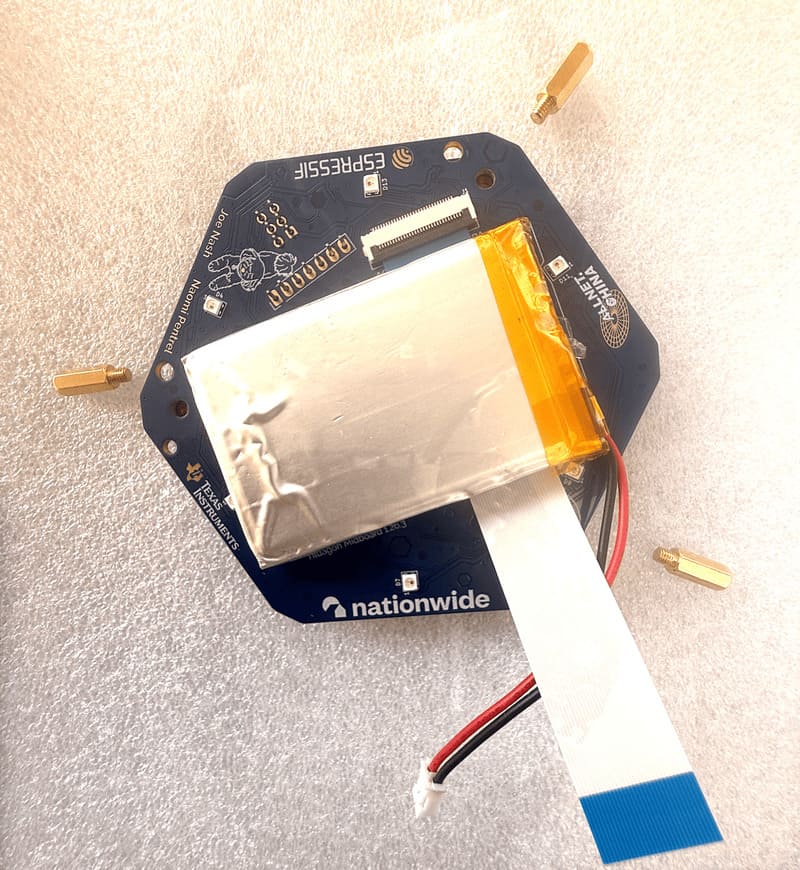
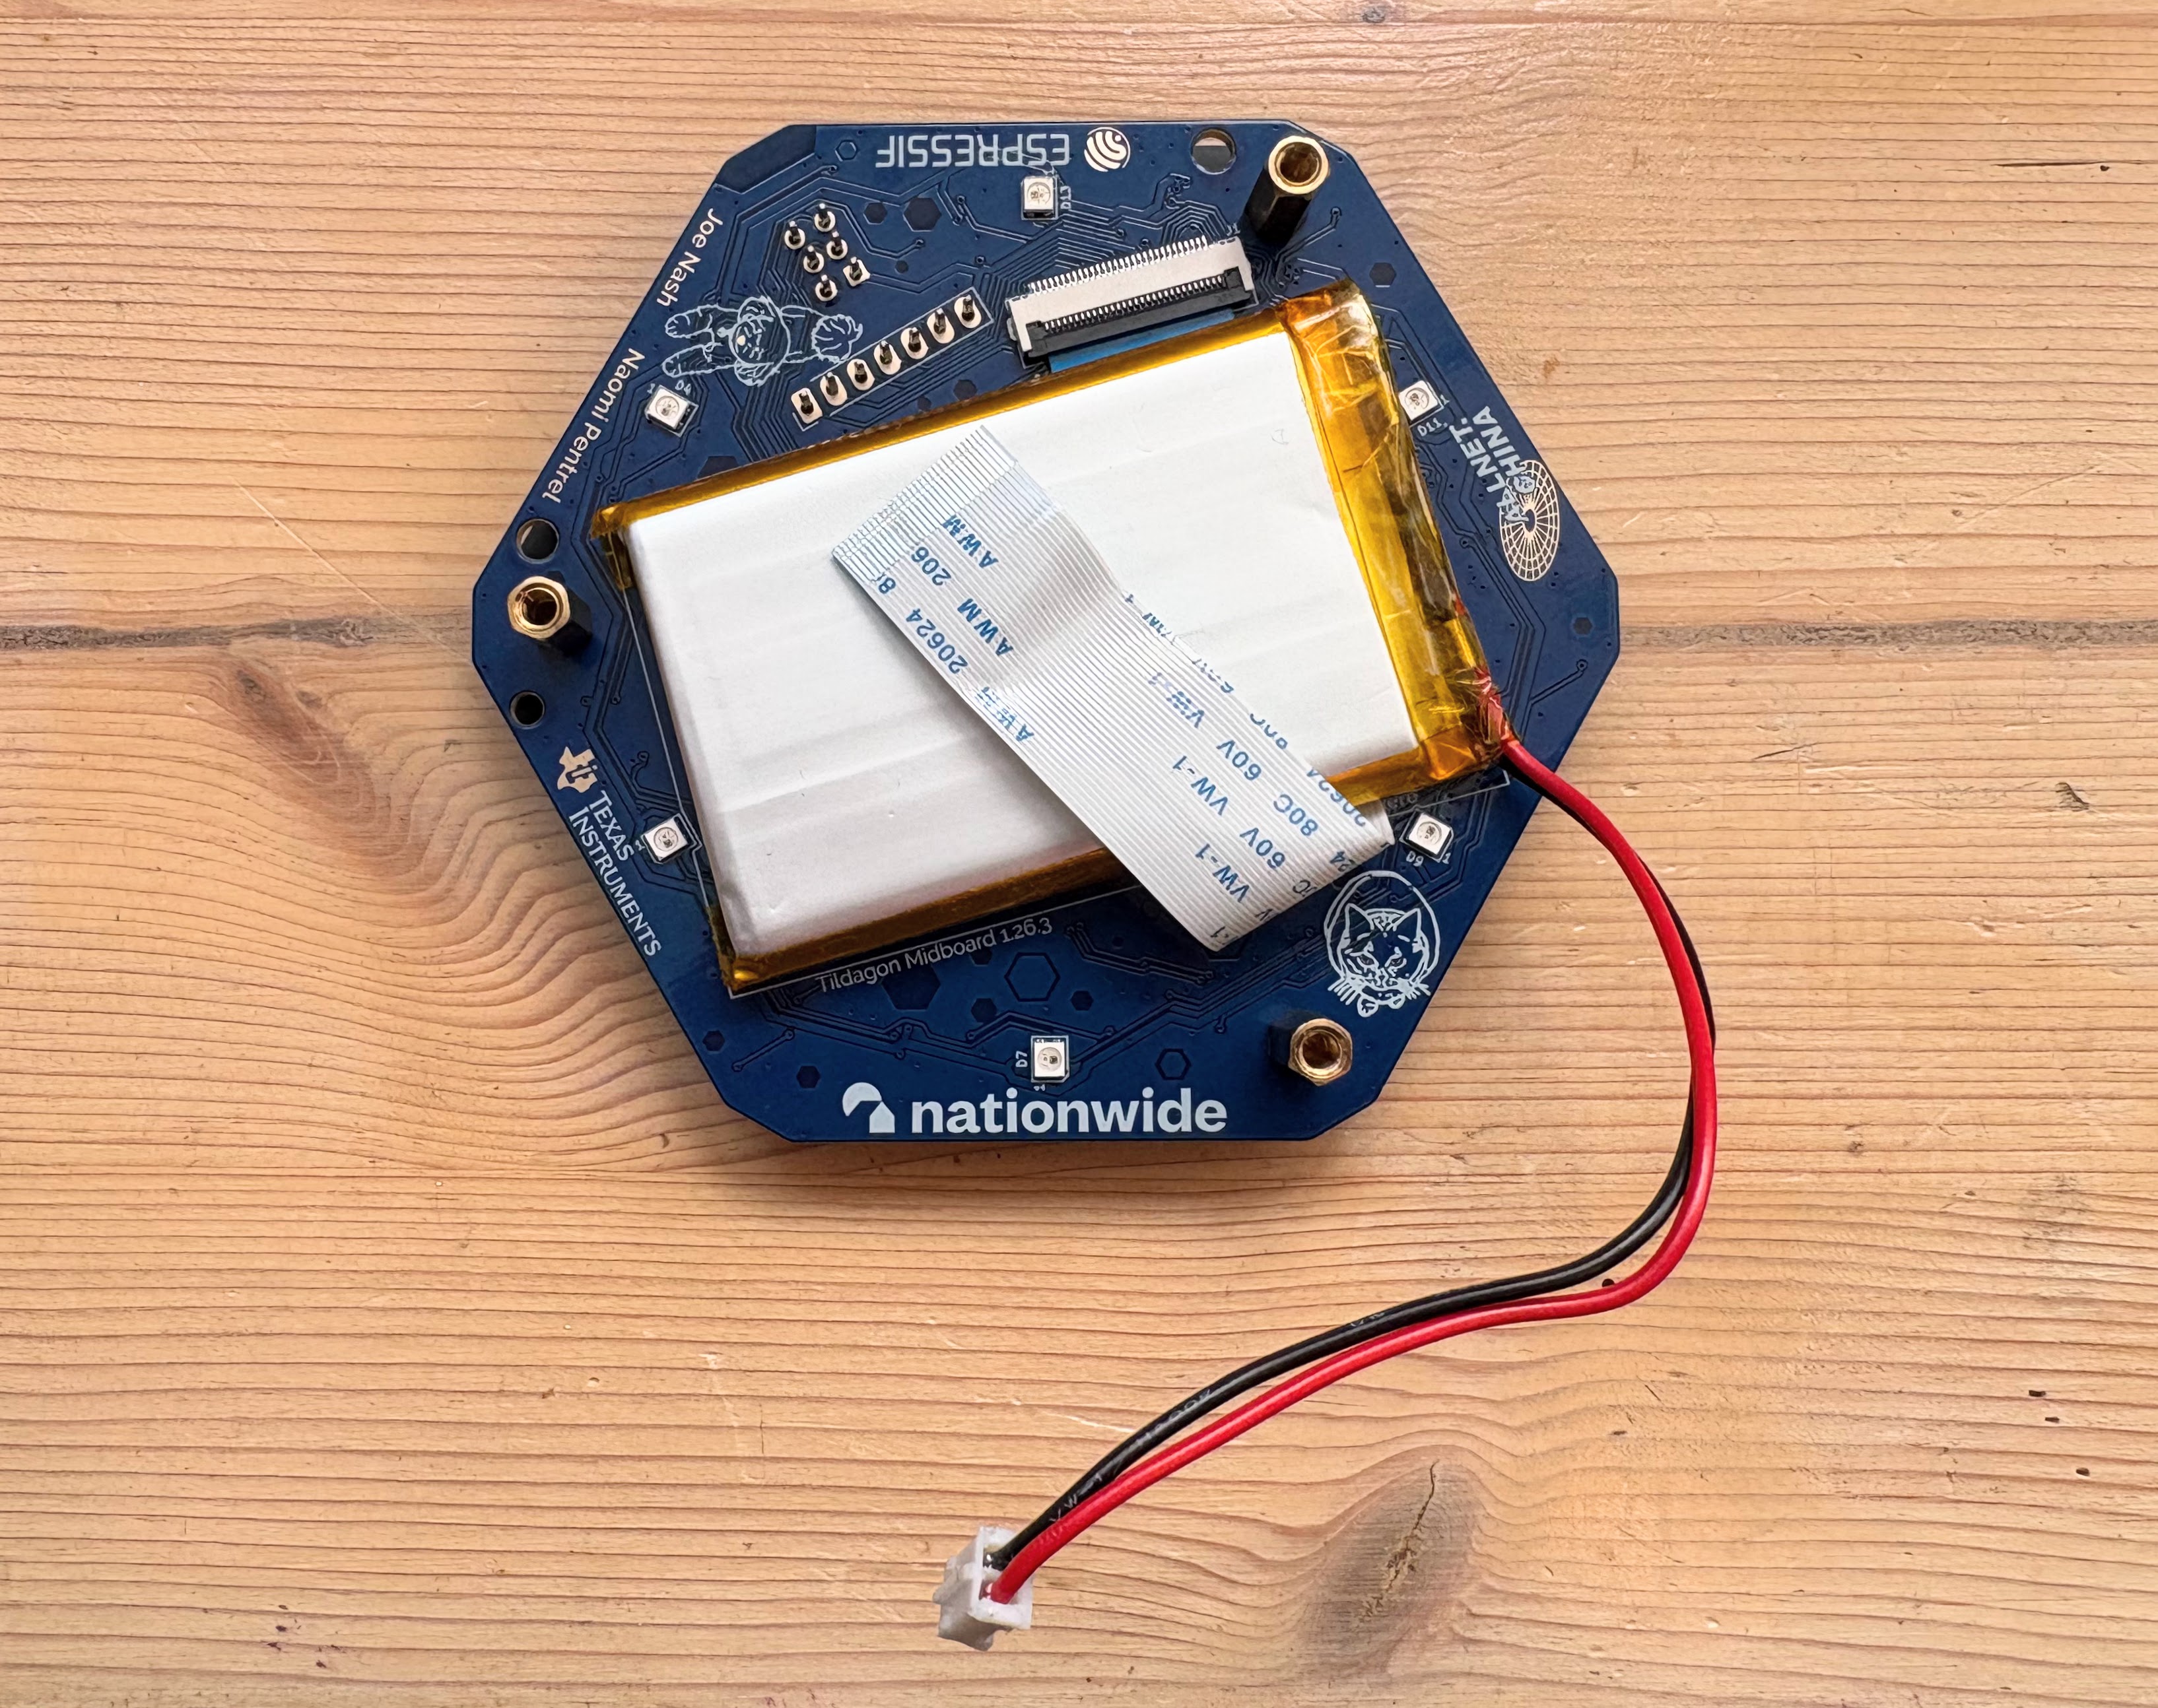
Step 16: Attach the display cable to the backboard
Remove all stickers from the mounting points as shown below. Note the one hidden under the cable.
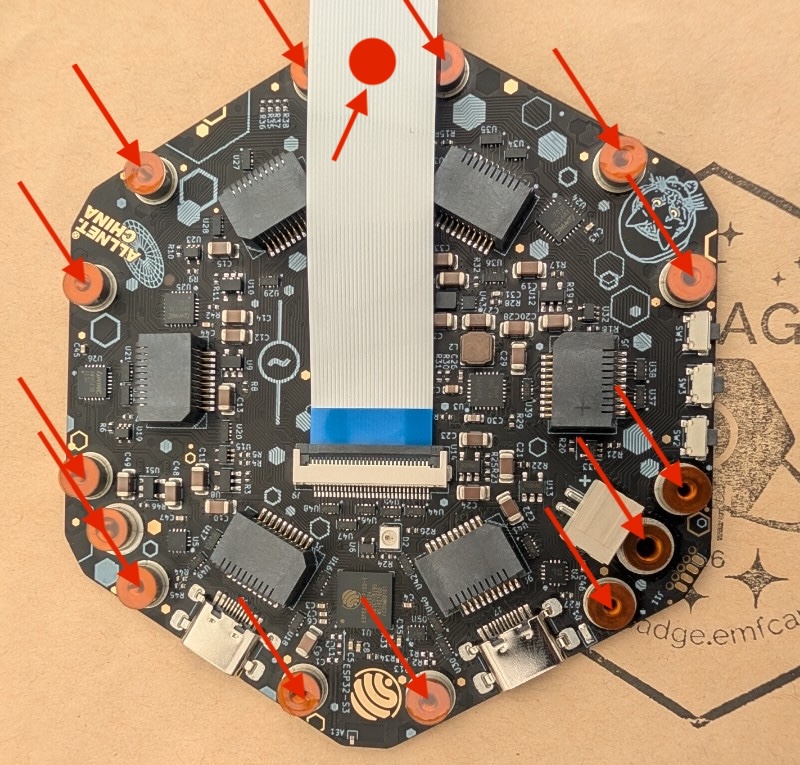
Lift the black flap of the display connector and slide in the display cable.
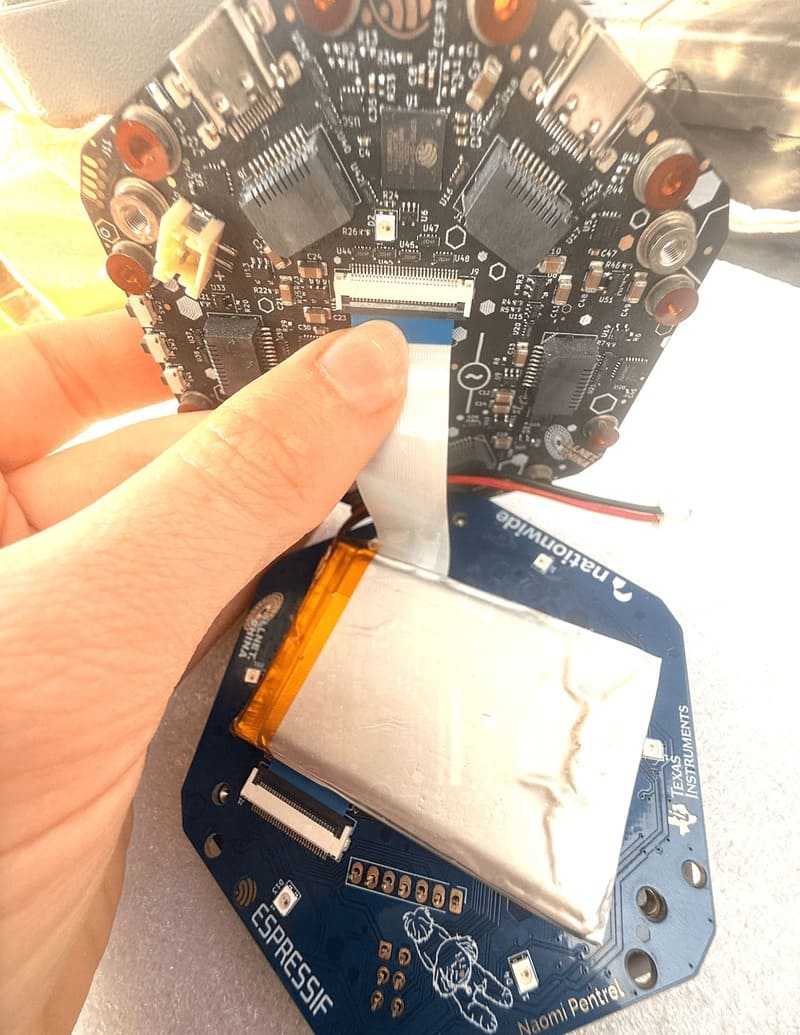
Step 17: Attach the battery connector
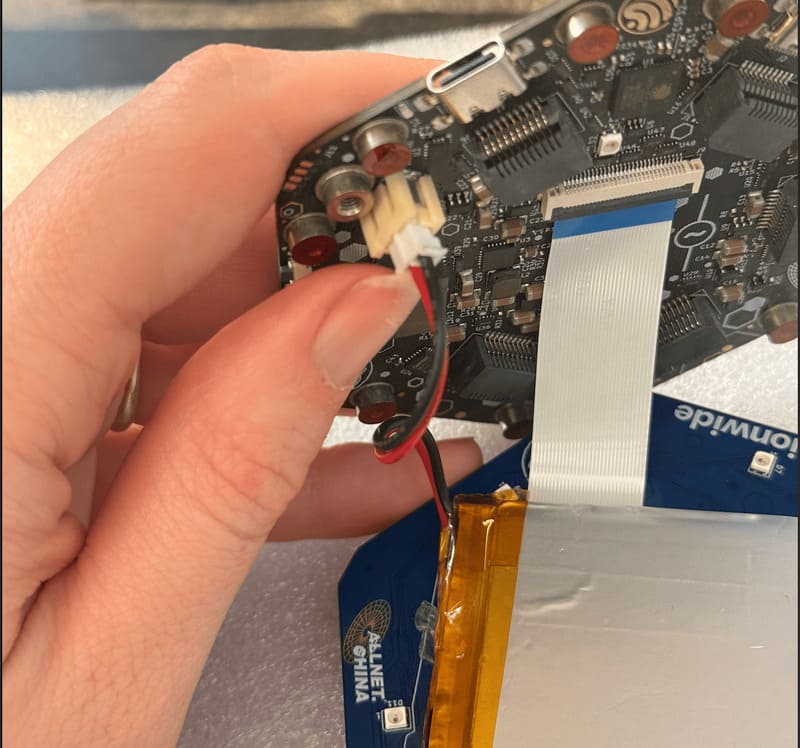
At this point the display should show the badge menu.
Step 18: Screw in the three screws to secure the backboard
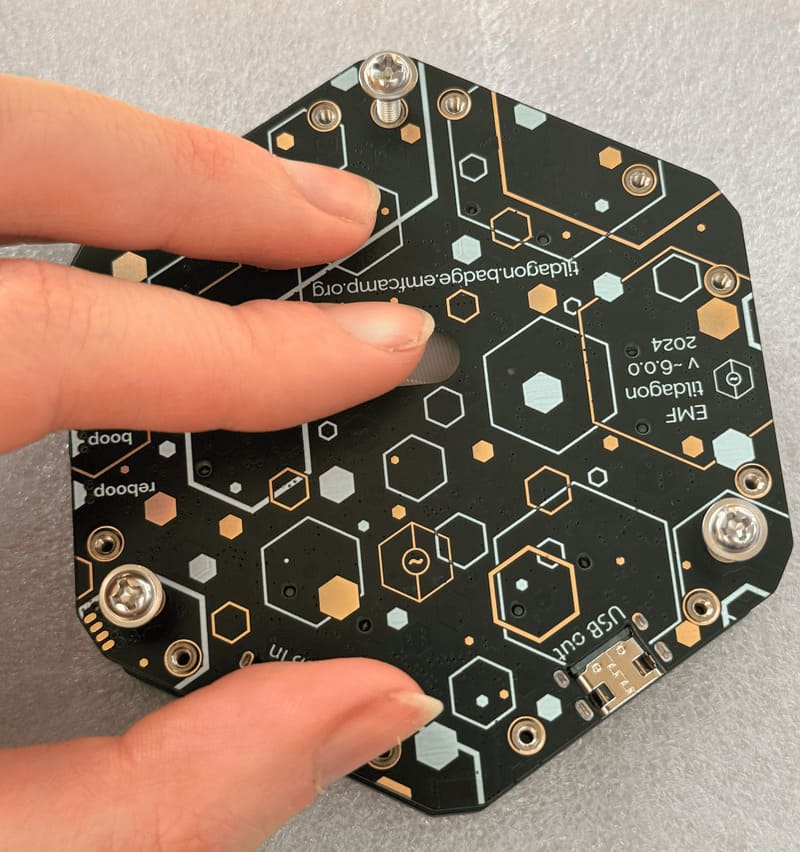
Screws not reaching standoffs?
If the standoffs don't connect, you may have put them into the wrong board. They attach to the blue middleboard, not the black backboard.
Step 19: Test your badge
Optionally, you can download and test your badge using the Spaceagon Test app. In the app store on the badge, select Use Code (or CodeInstall on older firmwares) and enter 21230442 to install it.
If you skipped the firmware update
If you did not update your badge before assembling the badge, the badge buttons on the new frontboard will not work. Use the joystick input to update your badge.
Step 20: Enjoy your badge